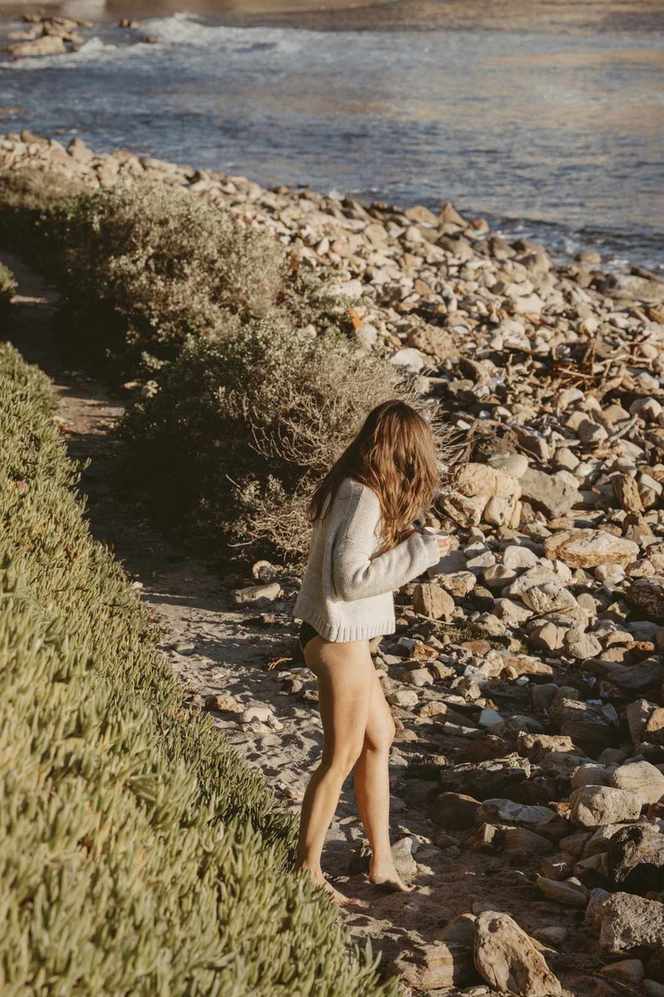
If you're looking to create beachy waves that radiate a carefree vibe, you're in luck. While I love experimenting with my hair, nothing enhances my fine strands quite like soft, natural waves. Through trial and error, I've perfected a quick routine that works wonders.
The best part? It only takes seven minutes from start to finish. Whether you're in a rush or prepping for a casual get-together, you can easily achieve beachy waves at home without a salon visit. Here's how to get those gorgeous waves, even with the most stubborn hair, along with my go-to tools and hacks to make them last.
Essential Tools for Perfect Beach Waves
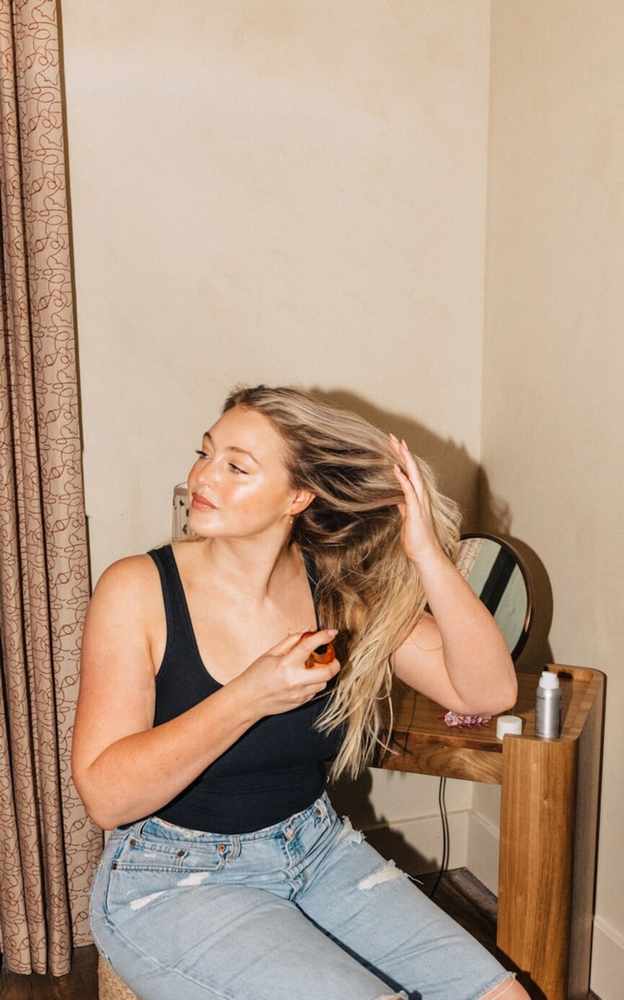
Before we dive into the steps for creating beachy waves, let's cover the necessary tools. You won't need much, just some basics:
- A reliable curling iron: I recommend a 1-inch barrel for those natural bends that define gorgeous beach waves.
- A heat protectant spray: This protects your hair from heat damage while keeping it shiny and lightweight—crucial for added volume.
- A flat iron: Surprisingly, this is used to straighten just the ends, giving you that relaxed, beachy look.
- A wet-dry brush: No need for expensive tools; an affordable brush from the drugstore works wonders for detangling and smoothing.
BEACHWAVER Co. Curling Wand – Pink Sunset – 1″
$99 at TargetNexxus Prep and Protect Heat Defense Hair Spray – 6oz
$15.99 at TargetWet Brush Go Green Speed Dry Hair Brush – Pink
$13.99 at TargetStep 1: Protect and Prepare Your Hair
The key to achieving soft, healthy beach waves starts before styling. I typically let my hair air dry mostly (sometimes even overnight) to cut down on blow-drying time. Always apply a heat protectant before using any hot tools; it's essential for shielding your strands from heat and providing a natural shine.
Step 2: Blow-Dry for Added Volume
For voluminous beach waves, flip your head upside down while blow-drying to lift from the roots. As you dry, brush through your hair, changing directions to create body and combat any cowlicks. Focus on drying the roots at the crown, then flip back and finish around your face.
Step 3: Straighten the Ends
This step is what turns standard curls into authentic beach waves. Use a flat iron on just the last two inches of your hair to straighten the ends. This adds an effortless touch, preventing the waves from appearing overly styled. I also briefly flatten the roots around my face to tame any cowlicks.
Step 4: Curl Your Hair for Beachy Waves
Now comes the exciting part: adding the signature bends. Here's how to achieve beachy waves with a curling iron:
- Take a 2-inch section of hair.
- Clamp the curling iron in the middle and twist away from your face, moving up toward the scalp.
- Hold for around five seconds.
- Loosen your grip slightly, wind in a few more inches, leaving the tips out.
- Hold for a few more seconds, then release and gently unwind.
- Repeat this process around your head.
- Take a few small (1-inch) sections from the top layer and curl them for added texture and volume.
Step 5: Set Your Style
Once you've finished curling, lightly mist your hair with hairspray to maintain the style. Allow your curls to cool for a few minutes; this helps them set and ensures they last throughout the day.
Pantene Flexible Hold Anti Humidity Hair Spray for Frizz Control – 7oz
$5.99 at TargetBaBylissPRO Nano Titanium Ultra-Thin Straightening Flat Iron – Blue – 1″
$159.99 at TargetStep 6: Brush for Effortless Waves
The final step? Brush through your curls. It may feel wrong to brush out fresh curls, but trust me—beach waves should look tousled and a bit messy. Brushing merges the curls into soft, natural waves that appear effortless. For a final volume boost, flip your head and spray your roots with hairspray.
Pro Tip: Start with Clean, Healthy Hair
Want your beachy waves to look even more stunning? Begin with healthy hair. Opt for lightweight, sulfate-free shampoos and conditioners that add moisture without weighing your hair down. Clean, balanced hair holds texture better and gives your waves a naturally soft, voluminous look.
Final Thoughts on Achieving Beachy Waves
That's it—my straightforward 7-minute method for creating beachy waves at home. With the right tools, some prep, and a few styling tricks, you can achieve those soft, natural-looking waves that evoke the essence of summer all year round. The best part? This look improves as the day progresses.
This post was last updated on April 23, 2025 to include new insights.
30 Simple Delights to Add to Your June Calendar