I'm not one to jump on every wellness trend, often bypassing the latest beauty fads and self-help books. But when it comes to bone broth, I genuinely believe in its benefits.
After struggling with digestive issues, my husband suggested I try bone broth. To my surprise, it not only alleviated my symptoms but also tasted great, making it easy to incorporate into my routine.
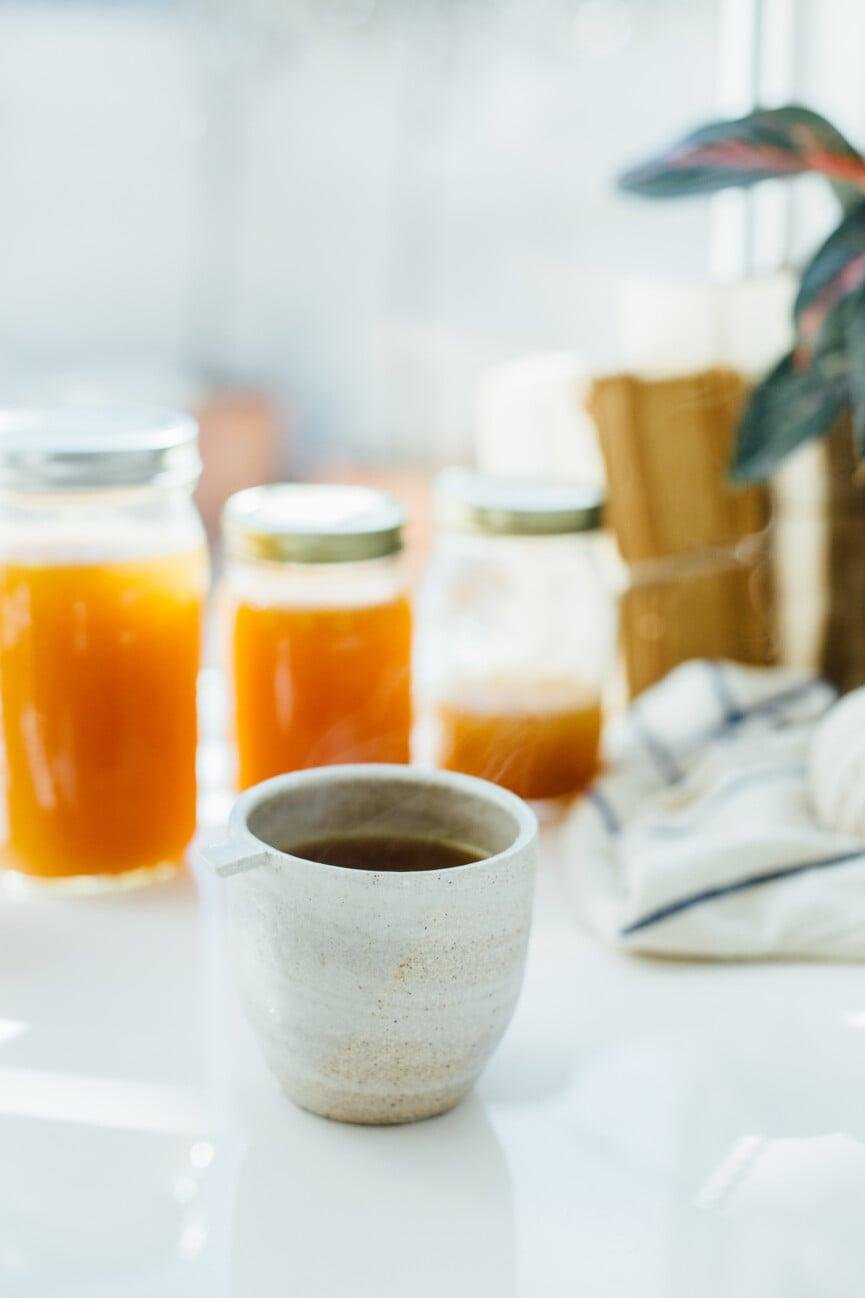
We whip up a fresh batch each weekend, starting my mornings with a mug to combat that pesky leaky gut.
There's ongoing debate about the benefits of bone broth. I won't dissect all the arguments, but I can say that since I started drinking it regularly, my stomach feels much better—proof enough for me. If you're also dealing with digestive troubles, bone broth might be worth a shot!
Choosing the Right Bones
Picking the right bones is crucial for a nutrient-packed broth. For detailed guidance, check out this resource.
Our approach:
1. I save bones from meals during the week, usually a chicken carcass or two, and pop them into a freezer bag.
2. I also visit the butcher or farmer's market for extra bones like marrow bones, oxtail, beef knuckles, or chicken backs.
Keep in mind that bones can be the most expensive part of making broth. Don't let the price deter you—homemade broth is still far cheaper than store-bought!
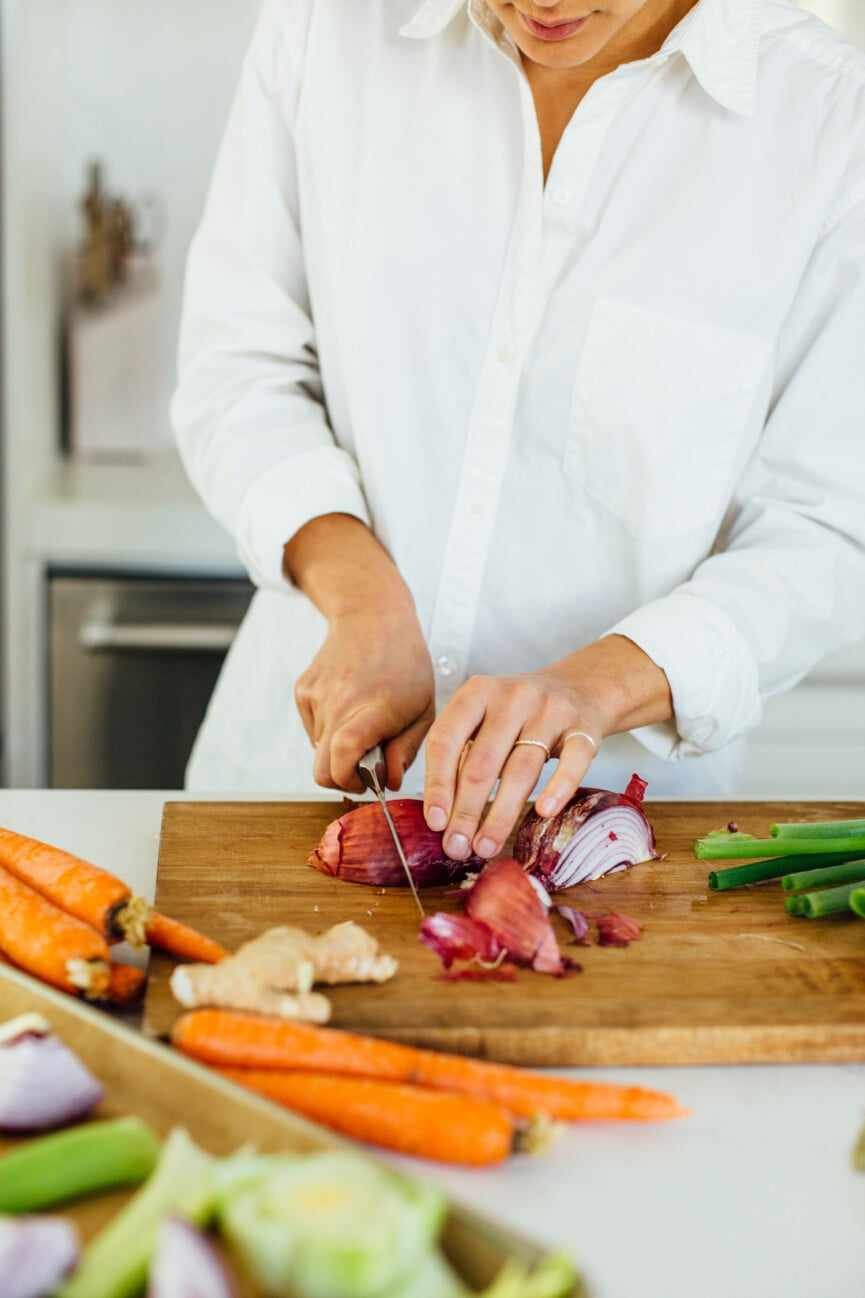
Adding Vegetables
In French cuisine, mirepoix—a mix of carrots, celery, and onions—forms the base for many dishes. I use this trio in my broth with about one or two pounds of carrots, a stalk of celery, and one or two onions, chopped for even roasting.
Flavorful Additions
I also save vegetable scraps in a bag in the freezer. Ingredients like green onion tops, kale stems, fresh herbs, lemon peels, and onion ends prevent waste and add flavor to the broth.
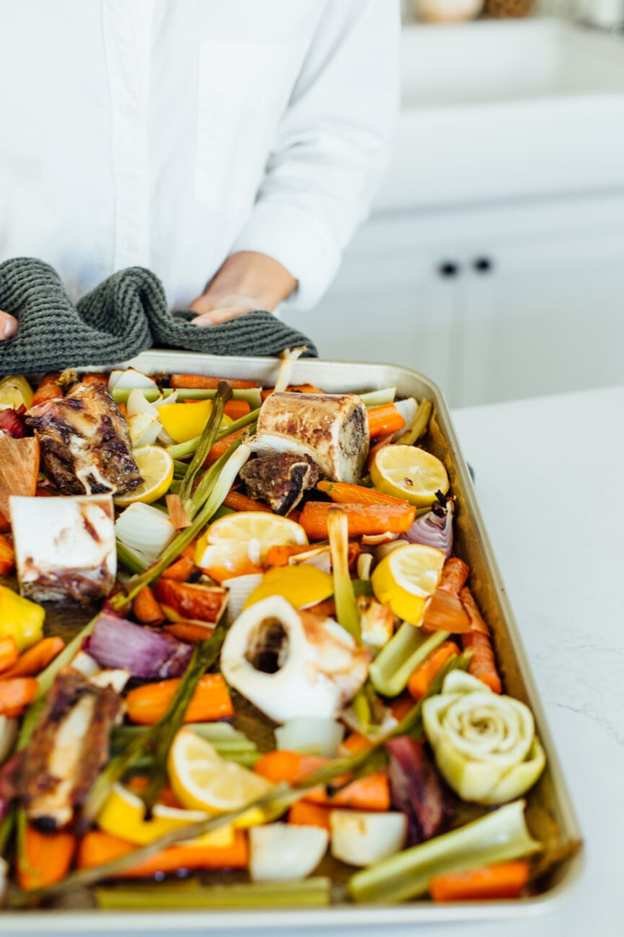
Arrange Your Ingredients
Spread the bones, veggies, and scraps on a parchment-lined baking sheet. We often need two sheets for everything.
Roasting the Mixture
Roast at 450°F for about 30 minutes until nicely browned. This step enhances the flavors. After roasting, transfer everything to a large stock pot and cover with filtered water. Some people even toss in the parchment paper for added flavor, as long as it's unbleached.
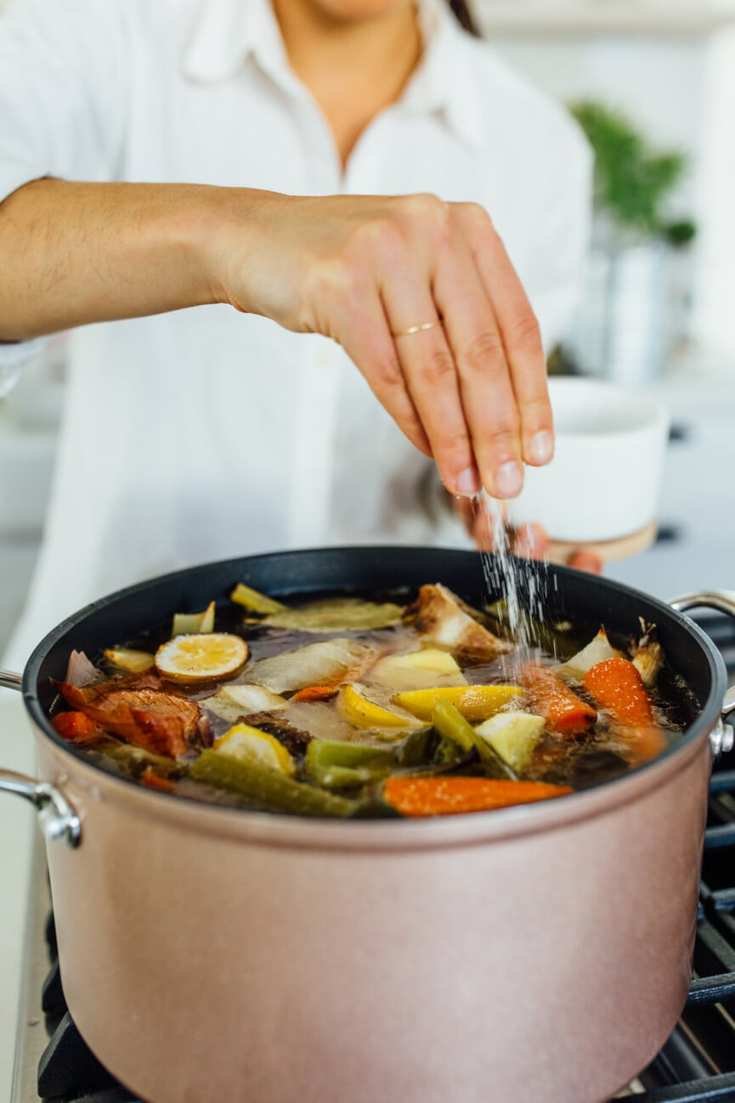
For extra taste, I like adding ginger, bay leaves, and a good amount of salt and pepper.
Simmering
Bring the pot to a boil without a lid. Once boiling, lower the heat and cover. Let it simmer for 8 to 12 hours.
Keep an eye on it; if it starts boiling too hard, you may end up with too little liquid. A gentle simmer is ideal.
Straining the Broth
Straining can get messy, especially with larger batches, so having someone to help is beneficial.
Use a mesh sieve to strain the broth, pouring it from the stock pot into another container. After it cools, transfer it into mason jars and refrigerate.
This recipe provides enough broth for both of us to enjoy a cup each morning for a week. While shelf life varies, we stick to a week.
After about 12 hours in the fridge, a layer of fat forms on top. When ready to eat, simply remove it—don't toss it down the drain, though! Heat your broth on the stove or microwave and enjoy!