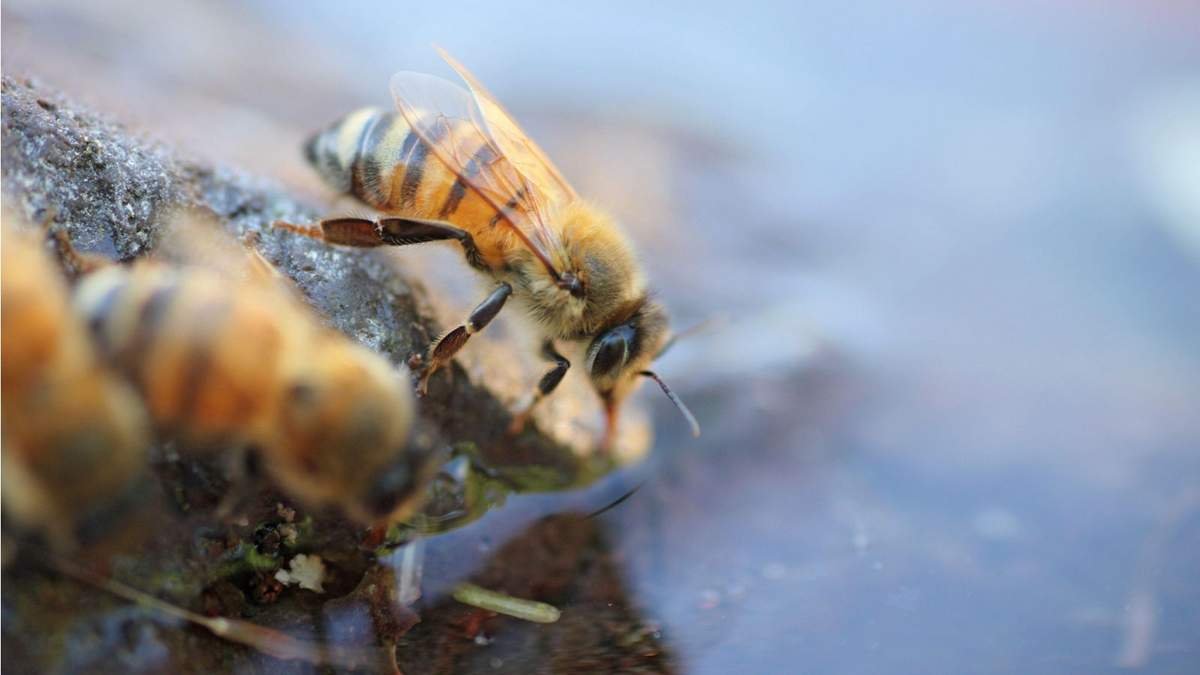
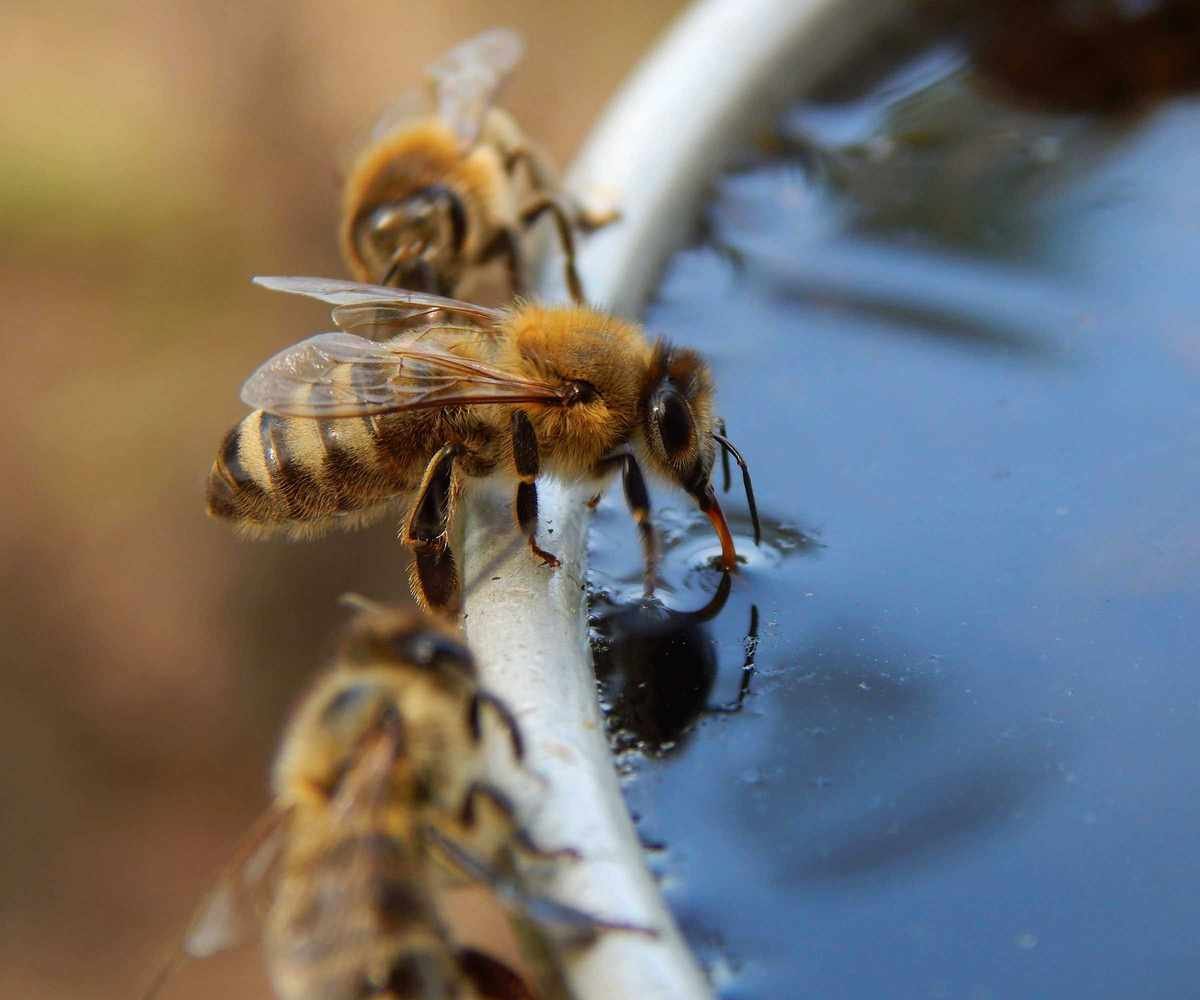
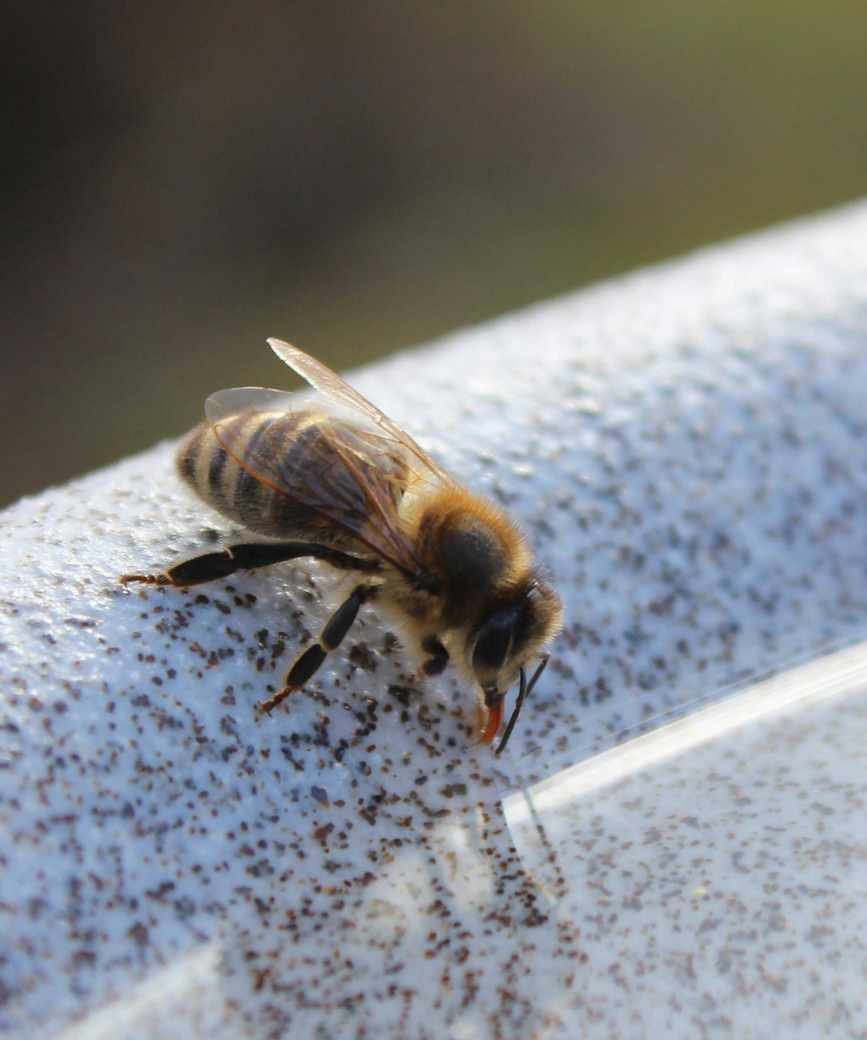
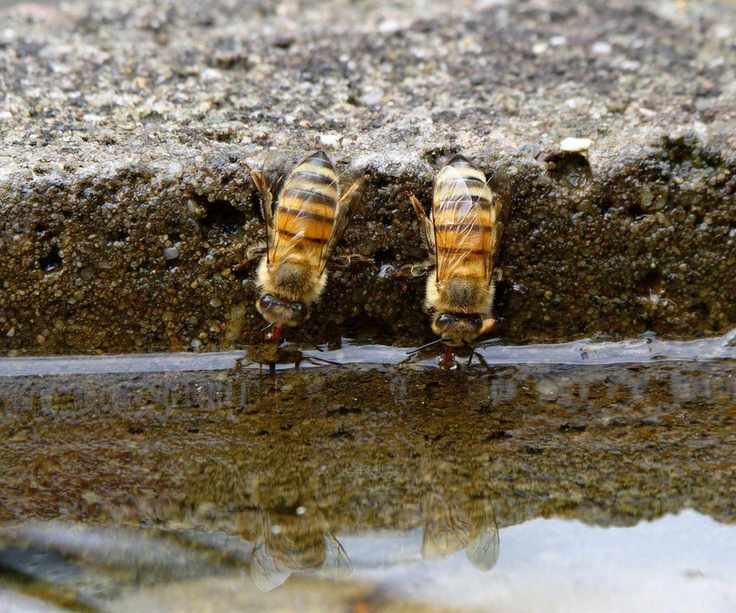
Summer brings vibrant pollinators to our yards, and it's delightful to see them thriving. With heatwaves upon us, providing water for bees, butterflies, and other creatures is essential for their survival.
Enter the charming DIY project: a bee watering station! This setup not only attracts bees but also accommodates butterflies and small birds. Unlike bird baths, which can be challenging for bees to access, a bee watering station features pebbles that allow them to perch while drinking from a shallow dish.
The best part? You can whip this up using items you likely already have in your garden within minutes. Check out @growwithnith's version below. This project enhances your wildlife garden and complements nectar-rich flowers. Here's how to create your own in three straightforward steps.
Steps to Create a Bee Watering Station
Making a bee watering station is quick and easy. Soon, you'll see various bees, butterflies, and small birds enjoying the cool water.
1. Prepare Your Plant Pot and Saucer
Building your bee watering station is simple: just flip a plant pot upside down and place a saucer on top. If your potting shed is anything like mine, you probably have some unused pots that are perfect for this.
While any plant pot and saucer will work, remember a few key points. First, size matters; smaller pots and shallower saucers are easier for bees to use.
'Bird baths can be challenging for bees due to their size,' notes a gardening expert. 'A shallow dish is more suitable for them. You don't need a plant saucer; a plastic lid or even a pet bowl can work,' she explains.
I prefer using a terracotta pot because it's porous, absorbing moisture and gradually releasing it, which keeps it cool. This helps bees even when the saucer's water level drops.
If you need new materials, check out this terracotta pot and saucer on Amazon. If you have a plastic or ceramic pot, just add a terracotta saucer on top.
2. Add Pebbles or Stones to the Saucer
This step is crucial for hydrating pollinators. Adding pebbles or stones gives bees a place to land while they drink. A lack of these in a bird bath often renders it unusable for them.
Use small or medium stones from your yard, or opt for polished pebbles from Amazon. For a fun touch, consider colorful stones from Walmart.
Your goal is to cover most of the saucer base while leaving pockets for small pools of water.
3. Fill the Saucer with Water
Now, it's time for water. But don't just fill the saucer completely; ensure the tops of the pebbles are above the water level so bees can perch safely.
Using a watering can (from Walmart), pour water until it reaches halfway up the saucer.
Remember to refresh the water every few days, just like maintaining a bird bath. This keeps the water clean and ensures it doesn't drop too low during the heatwave.
Looking for more wildlife projects? Try creating a bird buffet to attract various avian visitors to your yard.
While crafting a bee watering station is enjoyable, you can also consider these products to keep bees hydrated in the heat:
Bee Watering Station - Decorative flowers that can be filled with water for bees, butterflies, and more.
Bee Feeder for Mason Jar - Simply place a water-filled Mason jar upside down to dispense water onto a silicone mat for pollinators.
Floating Bee Island - Place these in a bird bath or pond, giving pollinators a place to land and drink.