
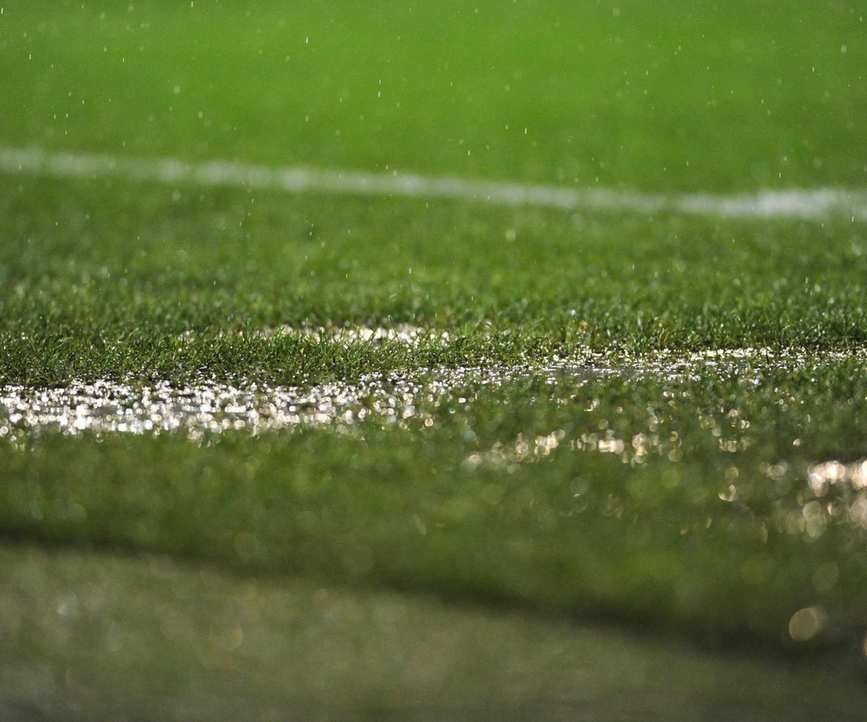
Many gardeners struggle with waterlogged areas and poor drainage. After heavy rains, it's frustrating to deal with saturated lawns and patios for extended periods. A practical and natural solution is learning how to create a rain garden.
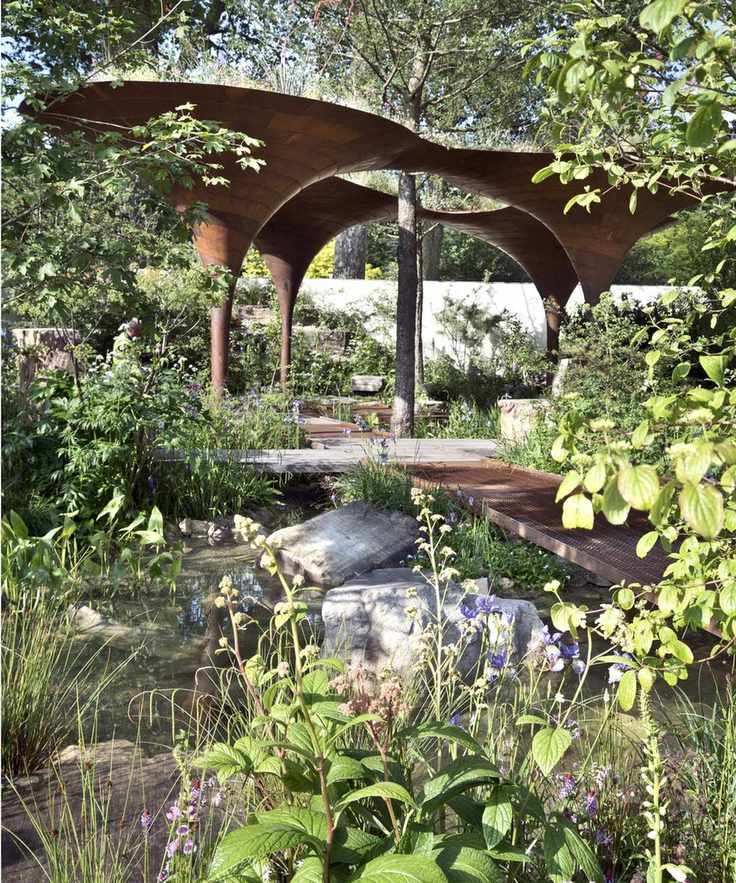
A rain garden is a landscaping feature designed to capture and direct runoff into a shallow basin. This allows water to gradually soak into the ground, reducing the risk of flooding in your yard. The best part? Installing a rain garden is quite simple. With a little effort and some digging, you can implement this effective drainage solution and solve your garden issues.
If you're dealing with drainage problems in your yard and want a sustainable landscaping project, consider creating a rain garden. Here, we outline four straightforward and budget-friendly steps to ensure your success.
Steps to Create a Rain Garden
If your soil is frequently waterlogged, there are several DIY methods to enhance drainage. One effective strategy is landscaping your yard with a rain garden, which naturally redirects rainwater to a basin designed to safely retain and drain the water.
This low-maintenance and affordable garden drainage method is perfect for homeowners with overly wet areas. Here's how to set up your rain garden in four easy steps.
1. Identify the Best Location
'Choose a low-lying spot in your yard that naturally collects rainwater,' advises Reese Robbins, a garden specialist and founder of Just Pure Gardening.
'To find this area, observe your yard on a rainy day and note where water accumulates. Typically, this might be near downspouts, driveways, or patios, as hard surfaces hinder drainage,' Reese explains.
Ensure the chosen spot is at least 10 feet away from your home to avoid directing water toward your foundation. Mark out an area that's as far from your house as possible.
'Once you have determined the right location, outline an oval or round shape using sand,' Reese suggests. 'Next, test the site by digging a small hole and filling it with water from a hose. If the water drains within 24 hours, you have a suitable site. If not, you may need to improve the soil's drainage first.'
For additional insights, consider checking out Rain Gardens: Sustainable Landscaping for a Beautiful Yard by Lynn M. Steiner (available on Amazon).

Reese L. Robbins is the founder of Just Pure Gardening, which offers various guides on growing fruits and vegetables, gardening ideas, and product reviews.
2. Excavate a Shallow Basin
'Once you're satisfied with the location and shape, it's time to start digging,' Reese states. 'All you need are a spade and a fork, two essential gardening tools. Just remember to keep them clean and sharp.'
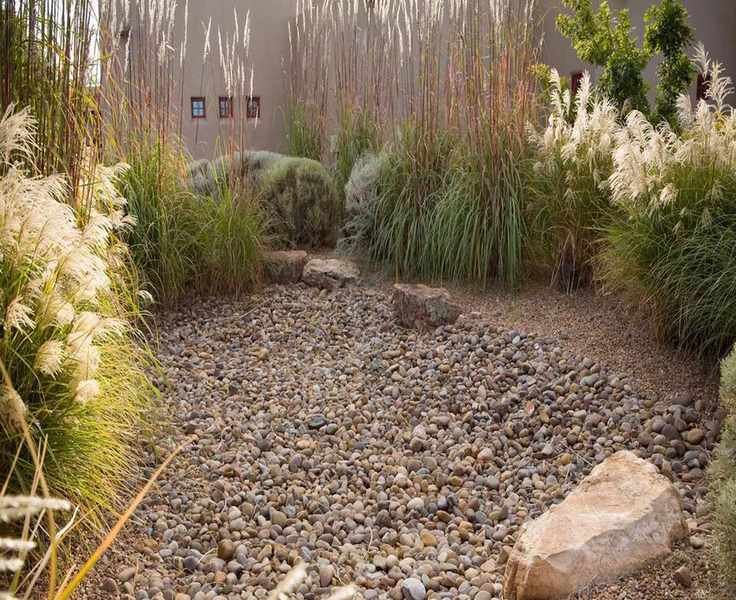
'The basin for your rain garden should be about 6 to 12 inches deep with sloped edges to guide water flow and promote gradual absorption into the soil,' Reese notes. 'Shape the basin with a gentle slope that blends seamlessly into your landscape. You want it to appear natural, not artificial.'
'If your yard has heavy clay soil, consider creating a deeper pit and adding a thick layer of gravel at the bottom to enhance drainage. This straightforward DIY drainage solution can yield remarkable results.'
Gravel bags can be found at Walmart.
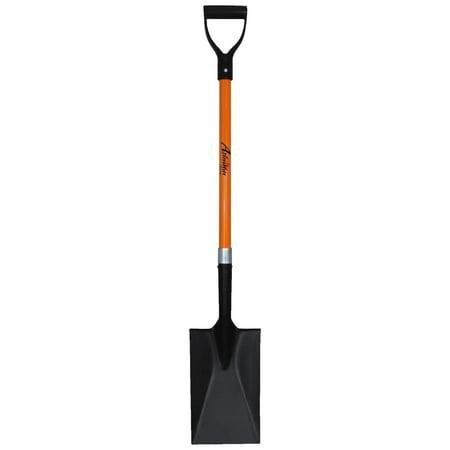
Heavy Duty Spade
If you're planning to build your own rain garden this season, a heavy-duty spade is essential for the task.

Long Gardening Gloves
These long leather gloves will protect your hands and forearms while you work in your garden.
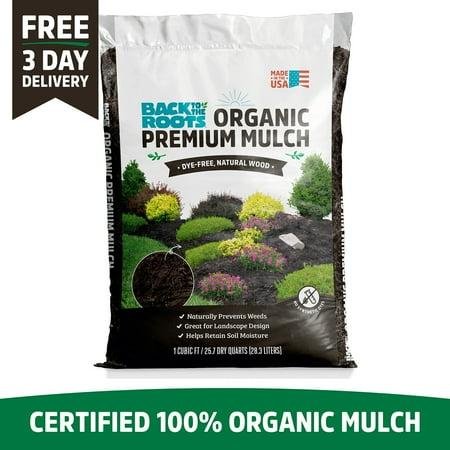
Organic Mulch
This organic mulch is the final touch for your rain garden. Apply a thick layer during the initial months.
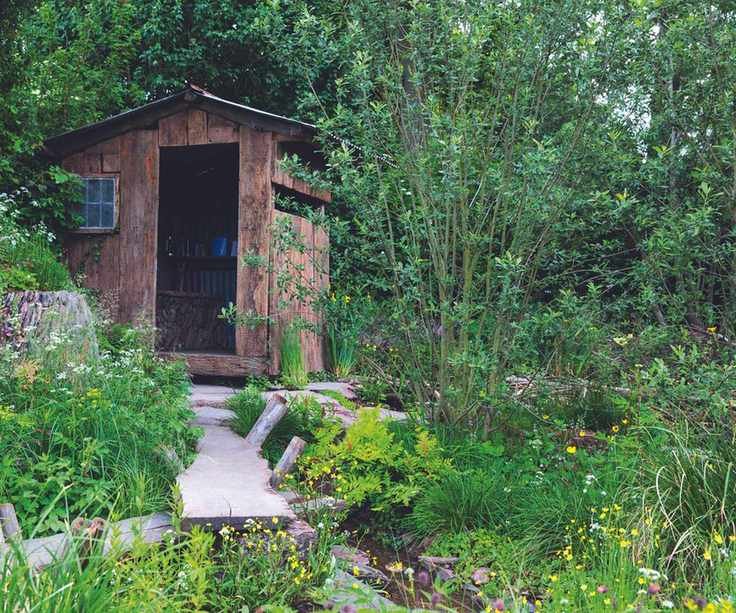
3. Select Moisture-Loving Plants
Rain gardens experience fluctuating conditions, from waterlogged in fall and winter to dry spells in summer. Therefore, choose ditch plants that thrive in both wet and dry conditions. These resilient species are among the best options for wet soil and also flourish during hot, dry months.
'Select native plants that suit your US hardiness zone and soil type, which also support local wildlife,' Reese suggests. 'For instance, North American switchgrass (Panicum virgatum) is adaptable, as is blue flag iris (Iris versicolor), commonly found in wetlands throughout the US.' You can find blue flag iris seeds on Amazon.
'To attract pollinators, consider planting cardinal flowers (Lobelia cardinalis), or Joe Pye weed (Eutrochium purpureum), which butterflies adore. Goldenrod (Solidago spp.) adds a wildflower charm, too.'
Regardless of the plants you choose, ensure they receive ample watering during their first year to help them establish. After that, they should thrive independently.
4. Mulch and Maintain Your Garden
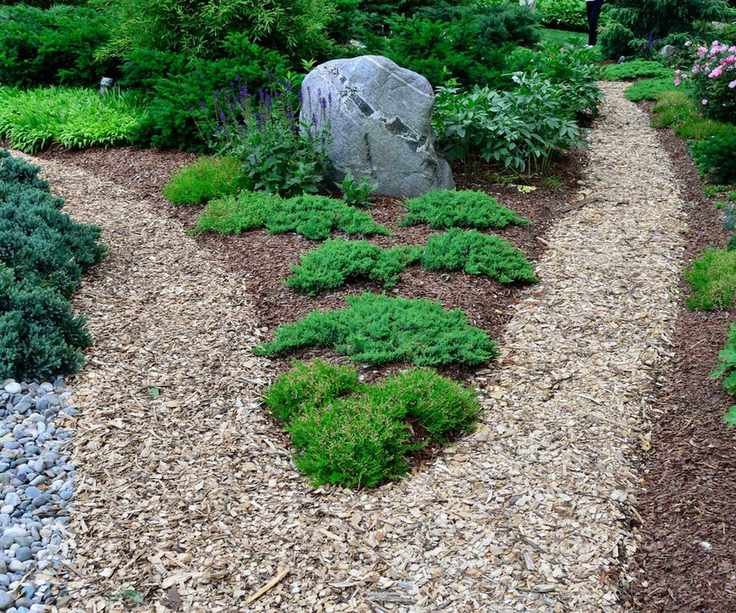
'After digging your basin, achieving the desired slope, and incorporating plants, finish your rain garden with a thick layer of mulch,' Reese recommends.
'Add a two to three-inch layer of gravel, shredded bark, or wood chips to retain moisture and suppress weeds. Steer clear of lightweight mulch, such as straw or fine bark, as it may wash away during heavy rains.'
FAQs
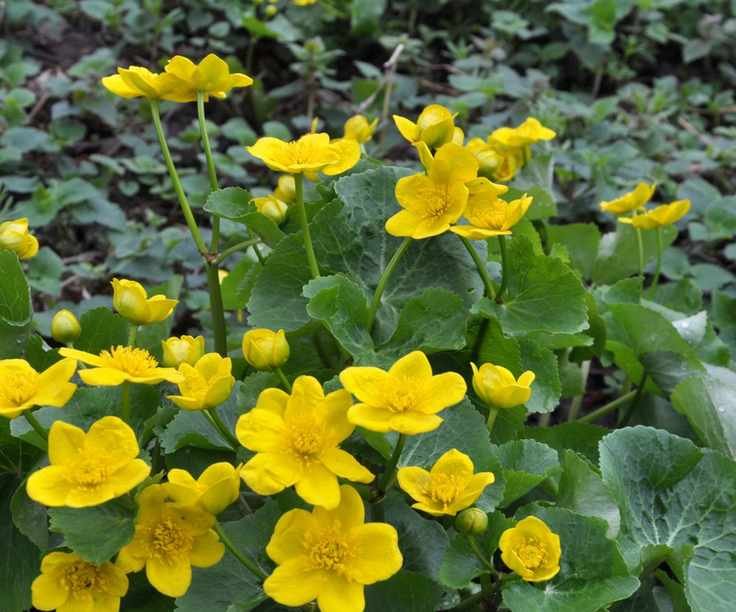
What are the top native marginal plants for a rain garden?
Many native marginal (or shallow water) plants thrive at the edges of rain gardens and enhance their appearance. Consider marsh marigold (Caltha palustris), found in much of the Northern Hemisphere, or water plantain (Alisma Plantago) for a natural look.
If you have a greenhouse or conservatory that causes water to pool on patios or pathways, you could direct runoff into your rain garden using discreet pipes or small trenches to alleviate waterlogging in particularly damp areas. For larger plots, seeking professional assistance may be beneficial.
For more drainage solutions, check out our guide on how to incorporate a French drain in your yard this year for another effective method to reduce waterlogging.


