Have you ever noticed how skilled gardeners maintain perfect lines between their lawns and flower beds? You can achieve this look too by applying the 3-inch edging technique, which involves digging a narrow trench to separate the two areas.
Even the best garden designs can lose their charm if grass starts to encroach on your carefully maintained edges. While many gardeners opt for metal or plastic edging solutions, the 3-inch rule stands out as a straightforward and traditional method that requires just a sharp spade to create a clear boundary.
This rule specifies the trench depth to be three inches, which is sufficient to cut grass roots that extend into flower beds, providing a distinct transition between lawn and garden. Since this technique relies on manual labor rather than purchased materials, it's easy to maintain once set up. Here's how to implement it.
Understanding the 3-Inch Garden Edging Rule

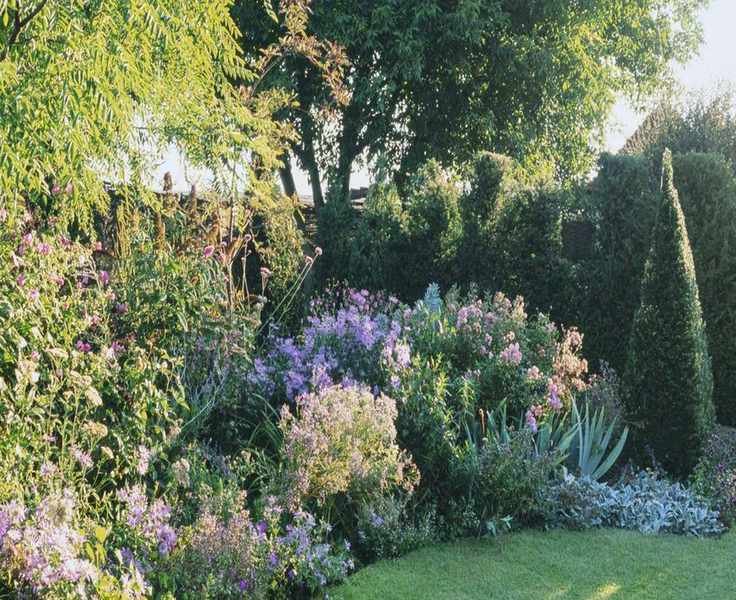
This method keeps borders looking tidy and defined
The 3-inch garden edging rule involves digging a narrow trench to prevent grass from spilling over into your flower beds.
The 'three inches' refers to the trench depth that separates the lawn from the border. This depth effectively severs most grass roots and creates a shadow effect, enhancing the definition of the border line.
A landscaping expert suggests, "We typically recommend a clean cut of about three inches deep once the lawn is established, as it provides flexibility in shaping the lawn, simplifies maintenance, and is cost-effective."
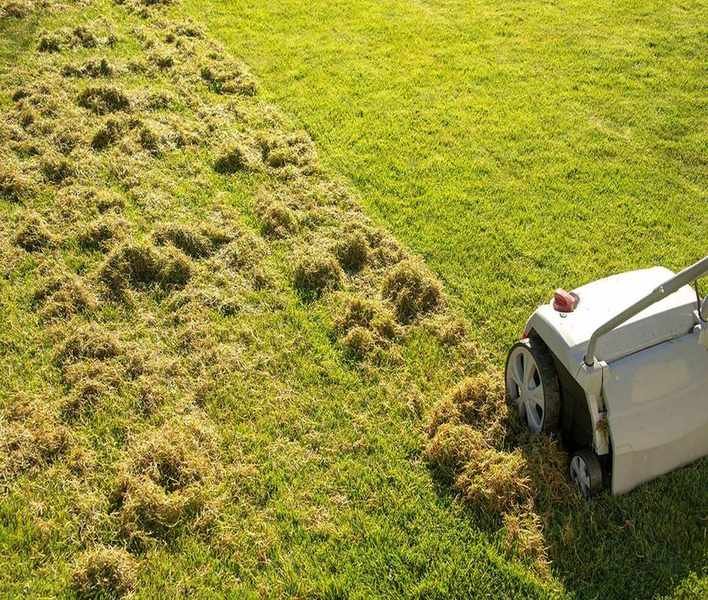
After the initial cut, upkeep is straightforward and can usually be handled with a strimmer, supplemented by occasional detailed work.
Using well-sharpened gardening tools is essential for this task. A half-moon edger is particularly useful for curved borders.
A flat spade can also work effectively in straight beds. The cleaner the cut, the neater the edge will be.
Maintaining sharp tools is crucial to achieving a clean cut rather than a jagged one, so ensure your tools are kept sharp.
Steps to Implement the 3-Inch Rule

A garden path alongside a border can assist in keeping grass out
Here are four simple steps to follow when applying the 3-inch rule to edge your flower bed.
1. Outline the Area
To begin, outline the shape of your new lawn edge. You can use a dusting of sand or a garden hose to outline where you plan to cut. Rope can also be effective for marking the shape.
Take a moment to step back and assess your shape before making the first cut. A smooth, flowing line is easier to maintain than a jagged one.
2. Make the Initial Cut
Position your edging spade along the marked line and press down firmly with your foot to make the first cut.
This cut should reach a depth of about three inches. Keeping the blade aligned will help maintain a crisp lawn edge.
3. Form an Angled Trench
This cut is crucial in preventing grass from re-entering the bed.
After establishing the vertical cut, angle your spade slightly back toward the lawn and remove a narrow wedge of soil beneath the turf.
This creates a shallow trench that stops grass from creeping and adds to the defined appearance of the edge.
4. Clean Up Excess Soil
Once your trench is cut, use a trowel or small shovel to remove loose soil and tidy the line you've created.
Ensure the border side is clean and vertical, with a neat strip of soil sitting above the cut. Tidying up will enhance the overall look.
Maintaining Your Lawn Edge
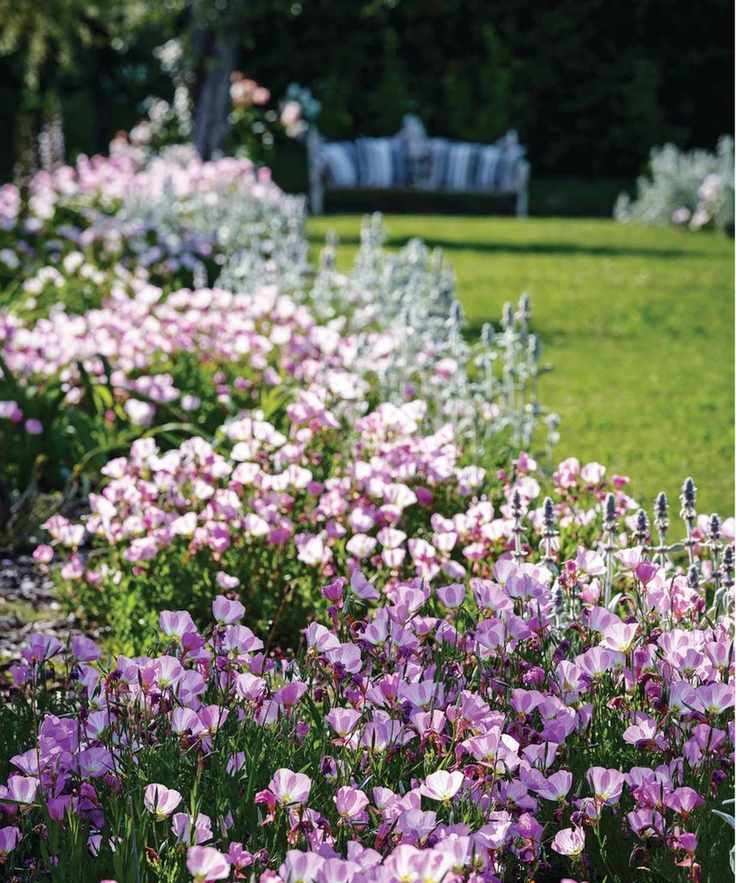
Regular maintenance is key to keeping the 3-inch edging neat
Now that your trench is established, it's essential to keep it maintained for a tidy appearance.
1. Trim Overhanging Grass
After mowing, use long-handled edging shears to trim any grass blades that the mower missed.
Regular mowing promotes upright grass growth, reducing the chances of grass spilling over your freshly cut borders.
2. Refresh the Edge Periodically
If the soil edge needs tidying, simply reposition your edging spade and refresh the soil cut.
Doing this every few weeks during the growing season will maintain a defined boundary.
3. Clear Weeds
Weeds and grass seedlings can disrupt the appearance of your trench. If neglected, they blur the line between lawn and border.
Regular hand-weeding and light hoeing will help keep your trench clear.
4. Maintain a Clear Trench
Soil from the border may fall into the trench, reducing the separation between lawn and garden bed. Periodically remove soil with a hand trowel to keep the trench neat.
Also, if adding mulch, ensure a gap between the mulched bed and your lawn edge to maintain clarity.
5. Seasonal Touch-Up
Even with regular upkeep, re-defining the edge in spring and again during the growing season is beneficial.
Simply follow the original line with an edging spade and gently tidy the trench to restore its neat finish.
Shopping Recommendations
A lawn edger can help you create a new border effectively. Look for one with a saw-tooth plate for easier cutting and ergonomic handle.
This stainless steel trowel features a depth marker for accurate digging and planting.
These grass trimming shears are perfect for carefully cutting back overhanging grass in your edging trench.
This straightforward technique can dramatically enhance the appearance of your garden. Think of your neatly edged lawn as a frame for your flower and vegetable borders, allowing their shapes to shine.
If you're seeking even more ways to improve your borders effortlessly, check out guides on low-maintenance garden border ideas.