Hanging pictures can transform any space, adding color, texture, and personality to your home. Knowing how to hang art properly prepares you for any wall enhancement.
We'll guide you through the essentials of picture hanging, from height adjustments to optimal placement alongside other artworks.
Getting the Height Right for Picture Hanging
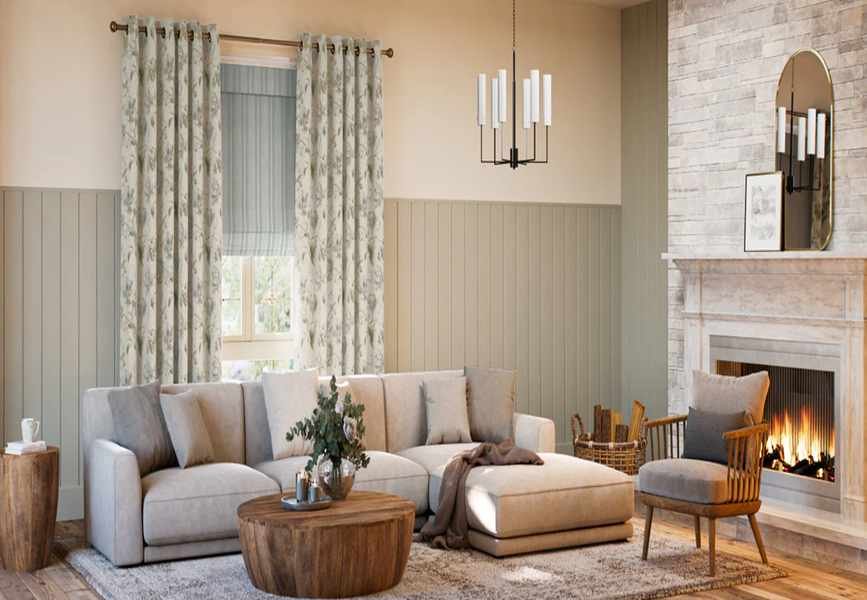
Determining the appropriate height for your artwork is crucial. This decision is influenced by room furniture and lighting.
Camilla Clarke, a Creative Director at an interior design firm, recommends walking around the space to find natural spots for art, like near windows or at the ends of corridors.
Art doesn't have to be centered on walls; it can also sit on tables, shelves, or lean against other decor items.
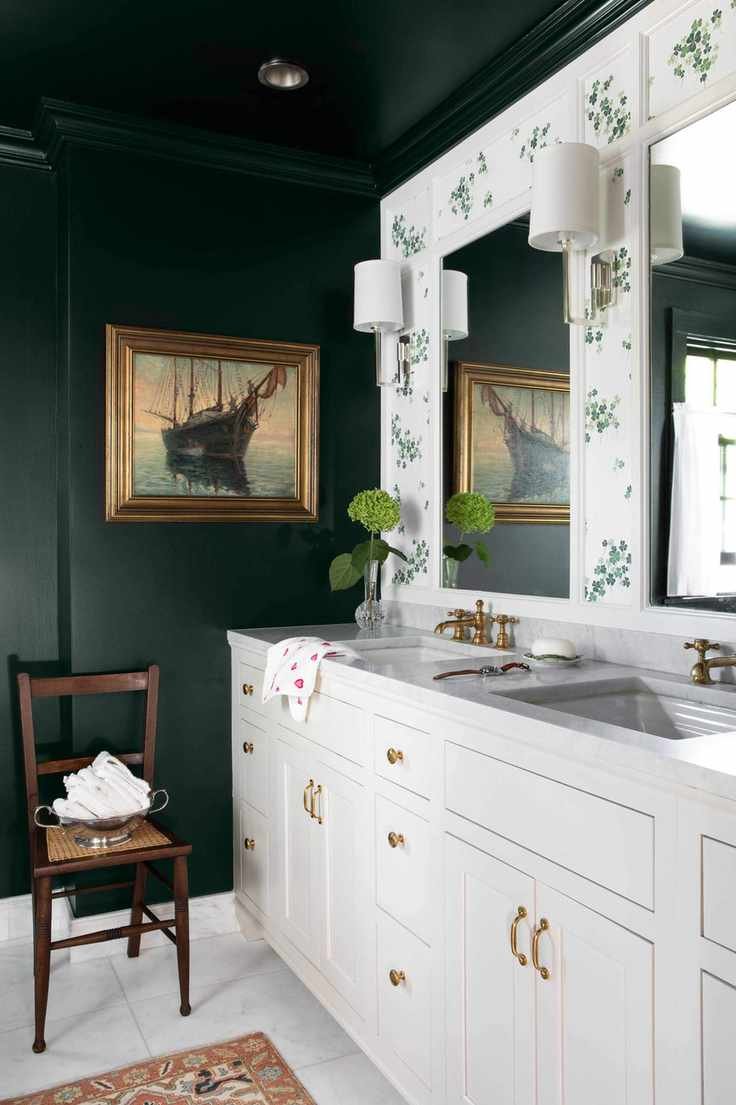
As a general guideline, aim for the center of your artwork to be around eye level, typically 57-60 inches from the floor. When hanging a single piece above furniture, center it on the wall.
However, feel free to break these rules for a unique look. Joanna Spindler from another design company suggests that hanging art lower can create an illusion of higher ceilings, perfect for spaces where you spend time seated.
Hanging Pictures Using Wire
- Step 1: Hold the picture in place and lightly mark the center of the top edge with a pencil.
- Step 2: Pull the hanging wire taut and measure the distance from the top of the frame to the wire.
- Step 3: From your original mark, measure down using the distance you just gauged to find the fixing point, marking slightly above this to conceal your pencil mark.
- Step 4: For lightweight frames, position a two-pin hook at the marked point and gently hammer in the nails.
- Step 5: For heavier frames on masonry, drill a hole at the fixing point and insert a wall plug. Ensure it's flush with the wall.
- Step 6: Finally, insert a screw into the plug, leaving enough space for the wire to hang.
Hanging Pictures Without Nails
To hang frames without nails, consider using adhesive strips or hooks. These adhere well to both solid and stud walls, provided the surfaces are smooth and dry.
These strips stick firmly to both the wall and the back of your frames but can be easily removed when needed.
Ensure both surfaces are clean before applying the strips. Attach them to the back of the frame, peel off the protective layer, and position the picture on the wall. Press firmly to secure the adhesion.
For hooks, attach the sticky part to the wall, then use wire to hang your frame as usual.
Hanging Pictures on Plasterboard and Stud Walls
The type of fixings to use depends on the size and weight of the picture as well as the wall type. Lightweight frames can typically be hung with simple two-pin hooks.
For heavier pieces, use a stud detector to find wooden beams behind the plasterboard. Anchoring into these beams provides a secure hold for larger artworks.
- Step 1: For lightweight frames, position the two-pin hook at the fixing point and hammer in the nails.
- Step 2: For stud walls, locate the studs, mark fixing spots, and use a pilot hole to confirm stud placement.
- Step 3: Drive a screw into the stud, leaving enough room for the wire to hang.
- Step 4: For fixing between studs, use a hollow wall anchor or self-drill screw, following the manufacturer's guidelines for weight limits.
- Step 5: Tighten a screw into the plug, ensuring enough head exposure for the wire.
- Step 6: If using a hollow wall anchor, drill a small hole and insert the anchor, securing it behind the plasterboard.
Hanging Pictures on Brick Walls
For brick walls, screws are necessary. Mark the wall plug length on your drill bit before drilling.
Drill the hole at your marked fixing point and insert the wall plug, ensuring it's flush. You may need a gentle tap to secure it.
Then, insert and tighten the screw, leaving enough head for the picture wire.
Styling Your Artwork
Positioning and displaying your artwork can be an art form itself.
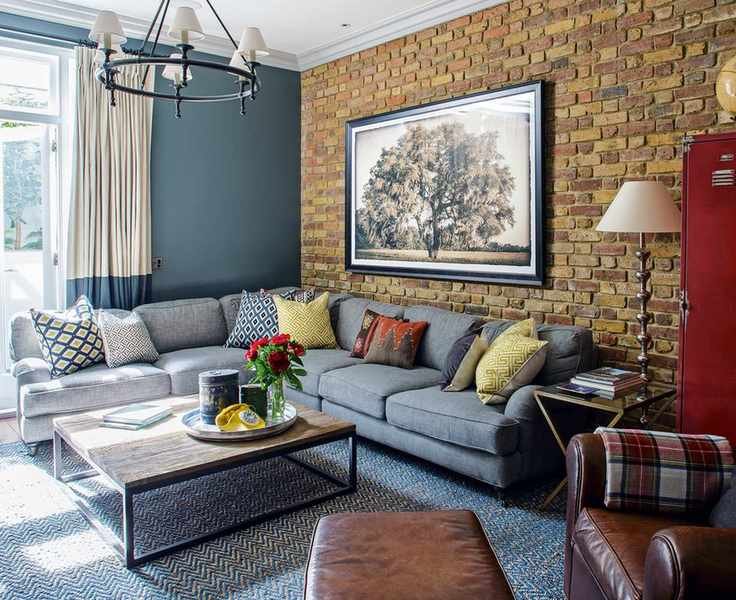
Martin Waller, founder of a design firm, believes that paintings and photographs infuse character into a space. Statement pieces can elevate a room's energy more than furniture alone.
1. Choose the Right Frame
Investing in a quality frame can significantly enhance your artwork and overall room vibe.
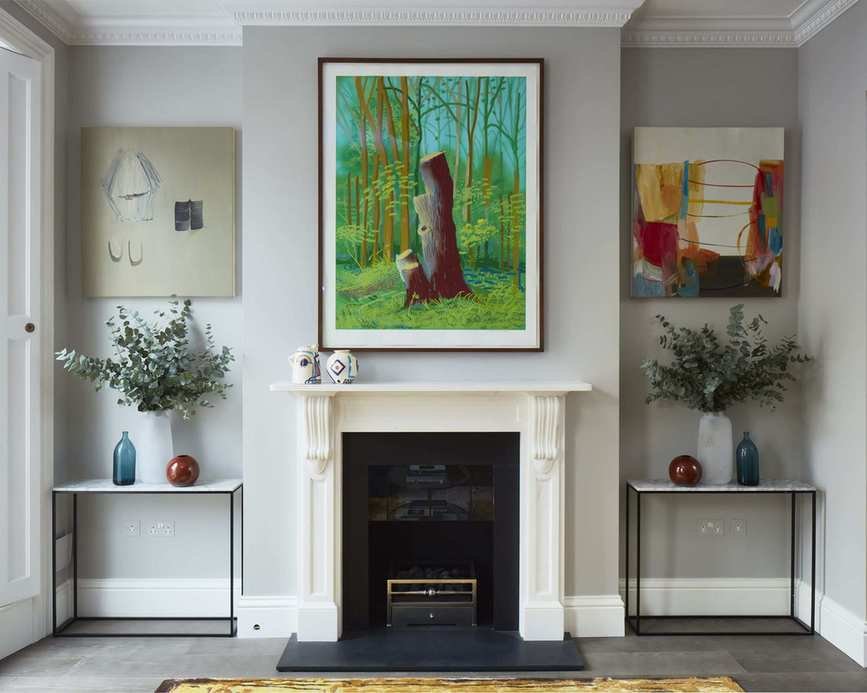
2. Create a Narrative with Your Art

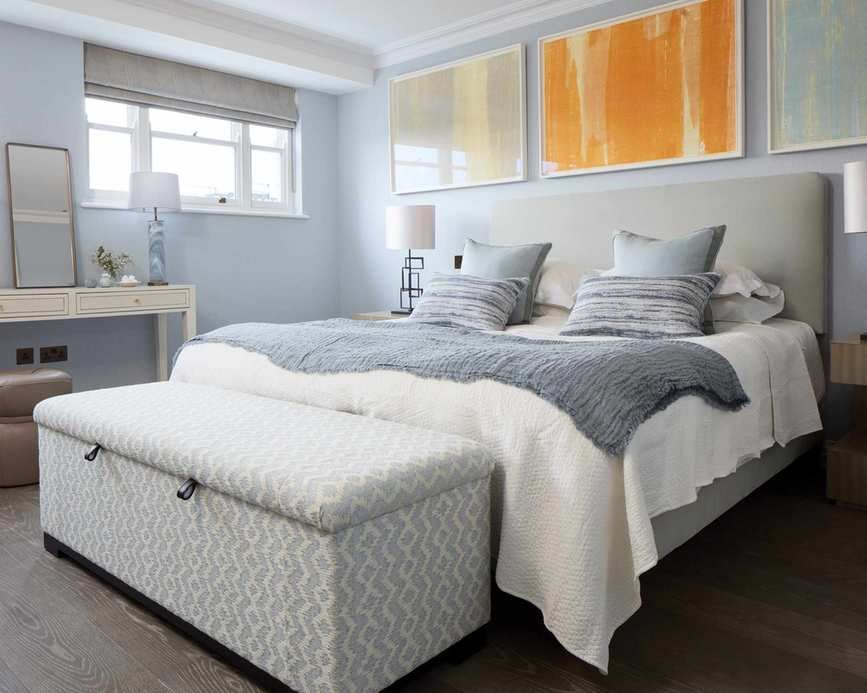
Design gallery walls by arranging multiple pieces to form cohesive shapes, ensuring a uniform look.
Martin suggests positioning portraits to face each other, creating a conversation among them, and thematically grouping artworks.
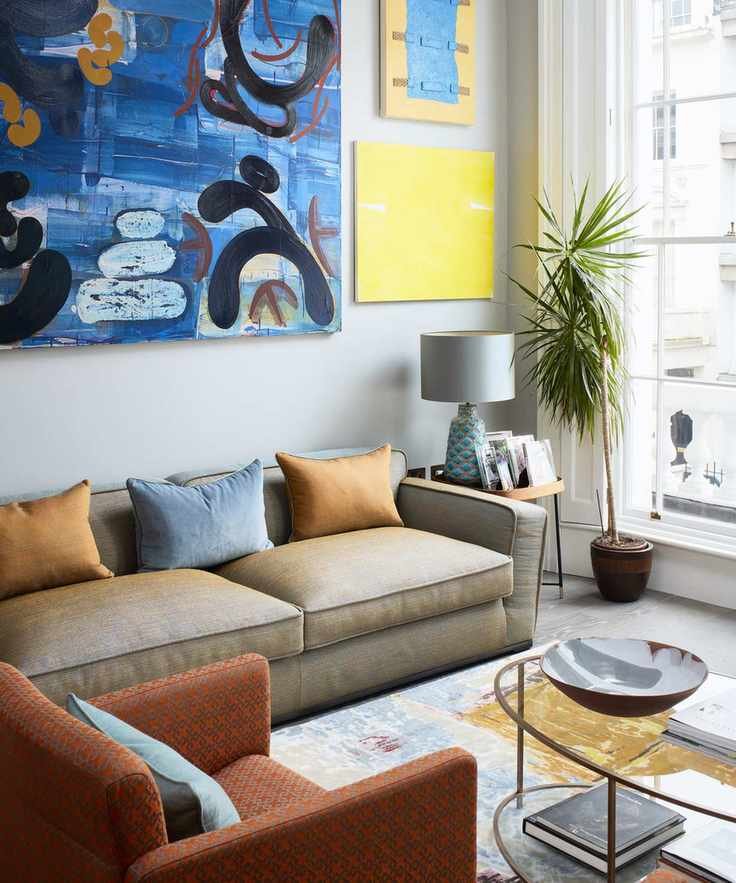
3. Experiment with Color
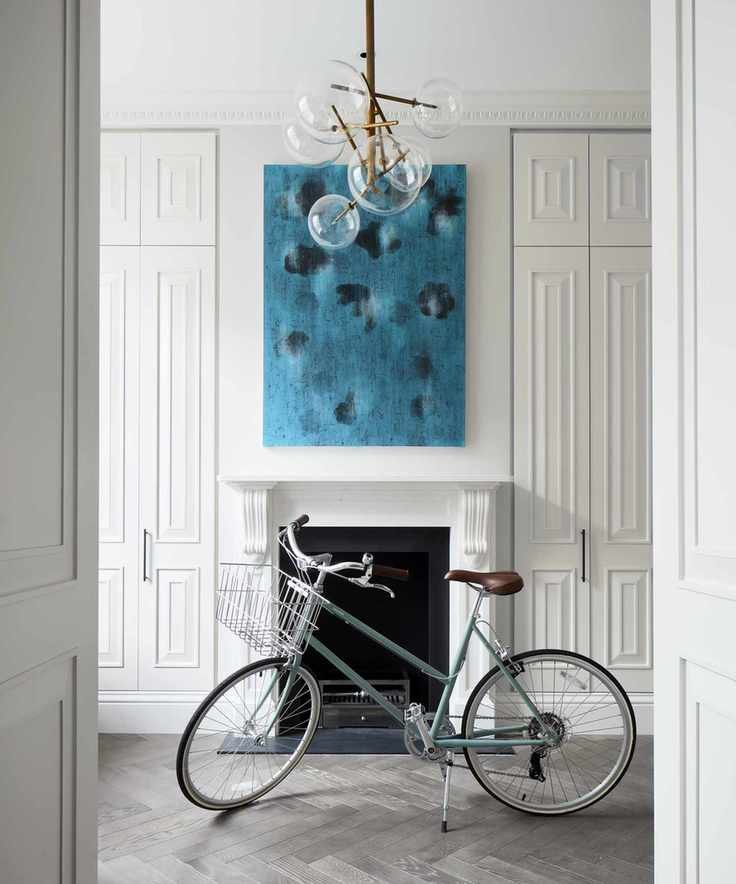
Try using monochrome pieces with one vibrant artwork as a focal point.
4. Mix Modern and Traditional Styles
Don't shy away from contrasting contemporary pieces in classic environments.
This blend of styles can create unexpected beauty.
5. Utilize Accent Colors
Match bold colors in your decor with similar tones in your artwork, or vice versa, for a harmonious look.
6. Buy Art You Love
Your art choices should resonate personally. Choose pieces that evoke emotion and connection.
Clarke echoes this sentiment, reminding us to select art for the joy it brings rather than solely for matching decor.