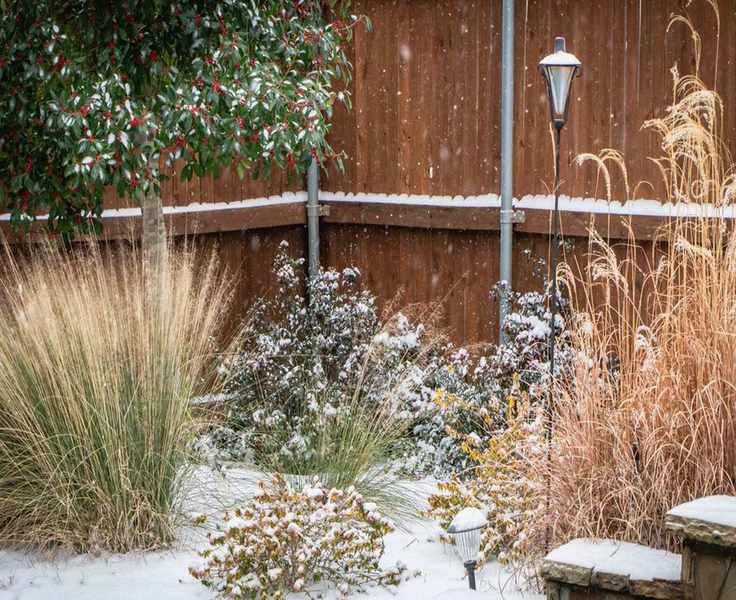
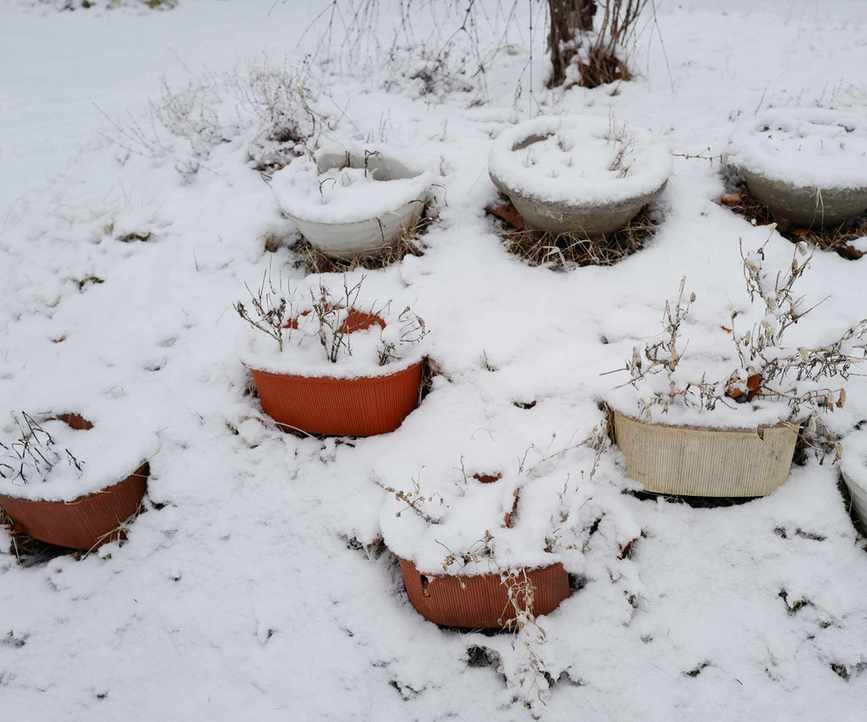
Winter can be tough on outdoor plants, leading to issues like frozen soil and damaged pots. However, adding an insulating layer to your plant pots can significantly enhance their chances of survival.
To successfully wrap your potted plants for winter, you'll need a few supplies and some expert tips. Following this guide will give your outdoor plants a fighting chance against the cold.
1. Select the Right Insulation Material
Choosing the appropriate material for wrapping your plants is crucial. While any insulation helps, the right choice is essential, especially if your plants aren't frost-hardy, as poor options may cause mold or inadequate heat retention.
Ofra Gaito, CEO of Verdant Lyfe, advises that you'll need insulating materials that allow for air circulation to avoid mold. Here are effective options:
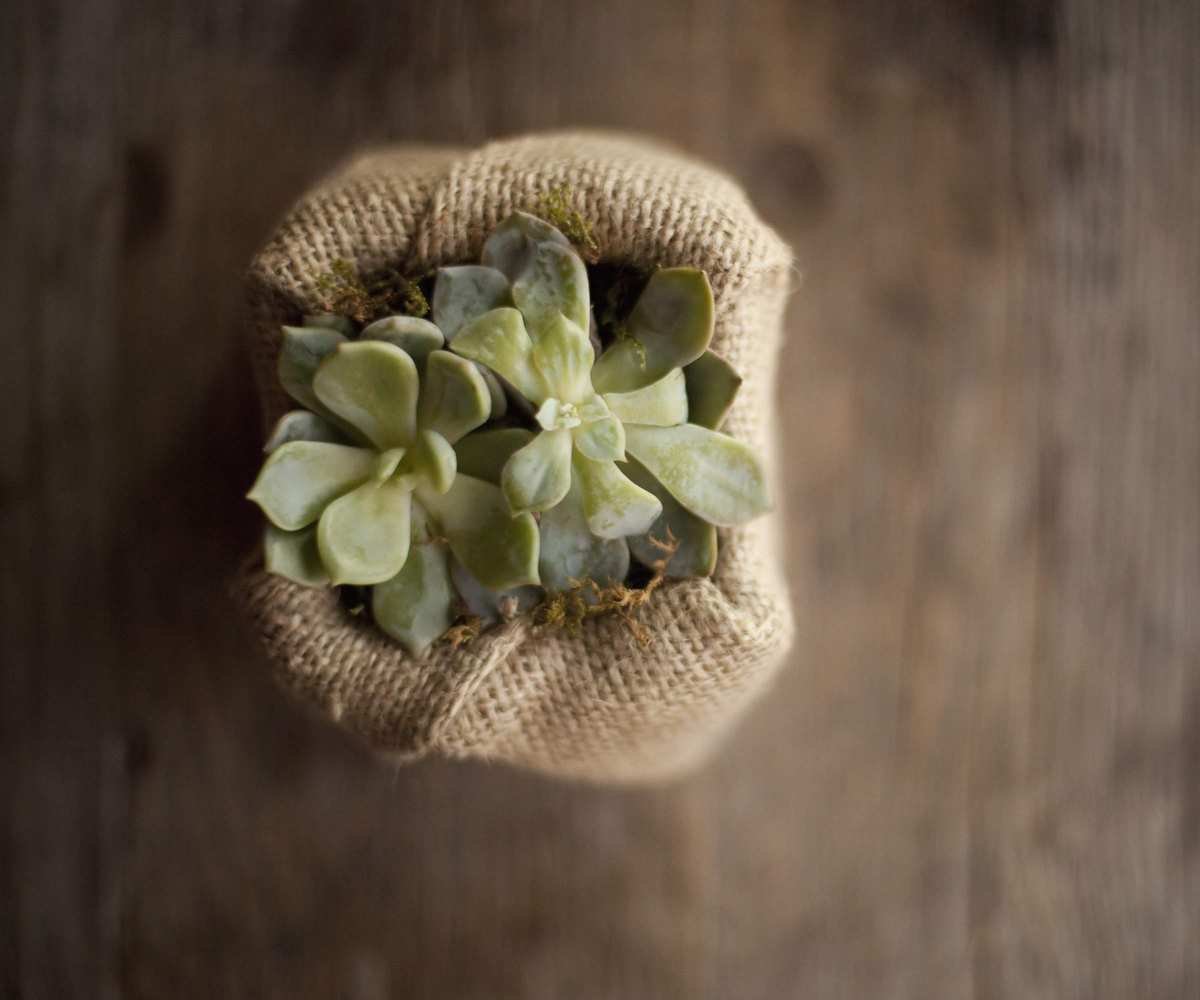
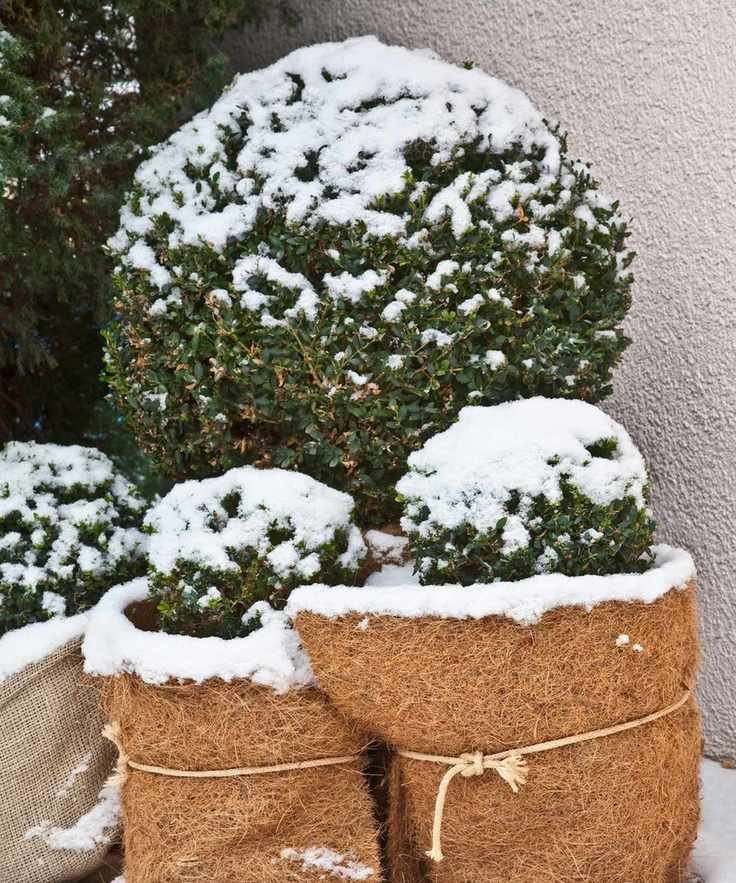
- Burlap: A breathable fabric that shields against wind and frost.
- Bubble wrap: Offers insulation but lacks breathability, so use with caution.
- Fleece plant covers: Designed to protect against the cold while promoting airflow.
- Recycled plastic or tarps: Good for moisture protection, but ensure the plant can still breathe.
Burlap or specialized garden fabric are top choices for wrapping pots. The 40" x 30" gardening burlap roll from Amazon and the OAHAO horticultural fleece plant covers from Amazon are excellent options.
2. Prepare Your Potted Plant
Prepping your plant is key before wrapping. Clear any debris, frost, or snow from the pot, give the plant a thorough watering, and elevate the pot to prevent root freezing.
Ofra suggests lifting pots using wooden blocks or bricks to keep roots insulated from the cold soil. Watering before wrapping helps maintain warmth in the soil, protecting roots.
However, avoid overwatering, which can lead to root rot. A tool like the XLUX soil moisture meter from Amazon can help gauge hydration levels.
3. Cut Your Wrapping Material
Your plant is now ready to be wrapped. While it might be tempting to overdo the insulation, remember that less is often more. Overwrapping can trap moisture and promote mold growth.
Paul LeBlanc, owner of Bloomist, cautions against this common mistake. Instead, wrap fabric around the pot's circumference once, adding a few extra inches for overlap. Cut the fabric to size using scissors like the Fiskars 8" scissors from Walmart. If needed, mark the cutting line with chalk.
If your fabric doesn't cover the pot's height, cut another piece to fill the gap. Additionally, cut a circular piece for the base, ensuring it's at least six inches wider than the pot.
4. Secure Your Wrapping
Finally, secure the wrapping around your pots to safeguard against frost and add a layer of mulch like wood chips at the base for further protection. Whatever method you use, ensure it's robust enough to withstand snow and wind.
Paul advises anchoring materials with twine, clips, or decorative cords, snugly but not too tightly to allow airflow.
I recommend this gardening twine available on Amazon for a splash of color while staying true to nature. Also available in white, the Binckin small bungee cords from Amazon are great for multiple plants.
If holding the wrapping proves challenging, get assistance—one person can stabilize the fabric while another secures it with twine.
Ofra recommends keeping drainage holes clear or using scissors to create openings to prevent waterlogging.