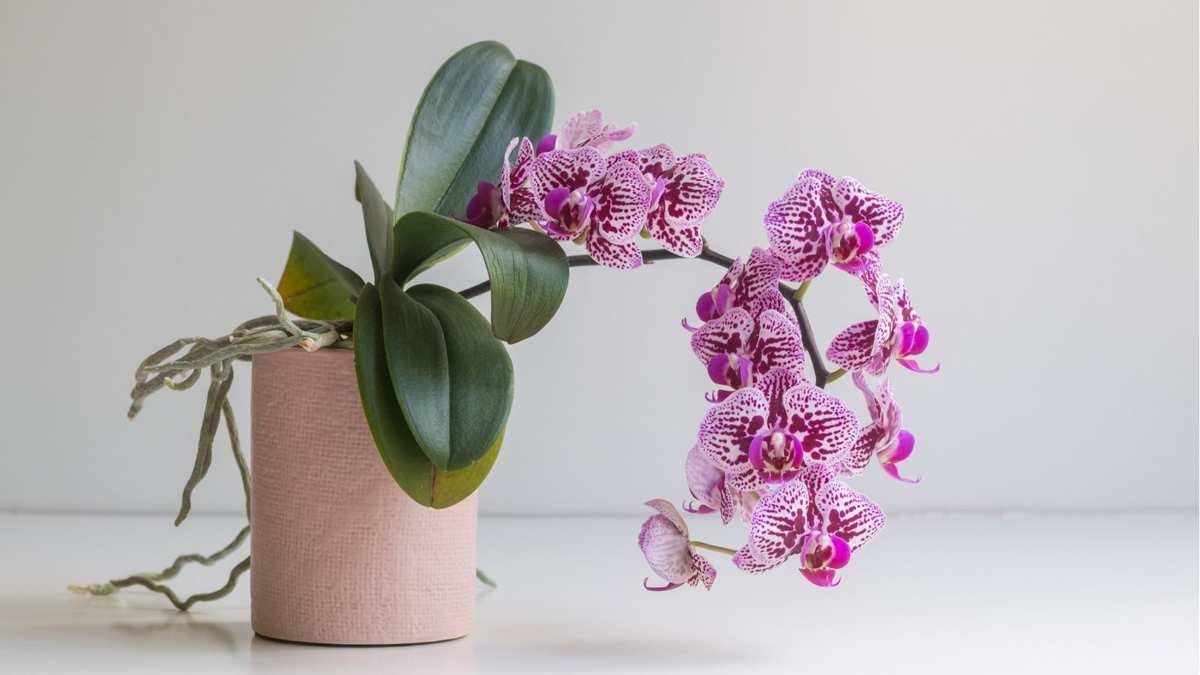
Orchids can be tricky to maintain, but with a bit of care, they can thrive beautifully in your home. I've nurtured several moth orchids in my collection, and it's been quite a journey to ensure their health.
Mishaps can happen while caring for these stunning plants. I've gone from nearly losing my white Phalaenopsis due to overwatering to successfully reviving it after two years without blooms. One significant challenge I faced was root rot.
Root rot in orchids is primarily caused by improper watering, which is common among orchid caretakers. Fortunately, it's a problem that can be identified and fixed easily. Here's expert advice on addressing orchid root rot.
What Leads to Orchid Root Rot?
Orchid root rot is just as it sounds: the roots begin to decay. This can lead to significant issues for your plants, causing wilting, flower drop, or even yellowing stems.
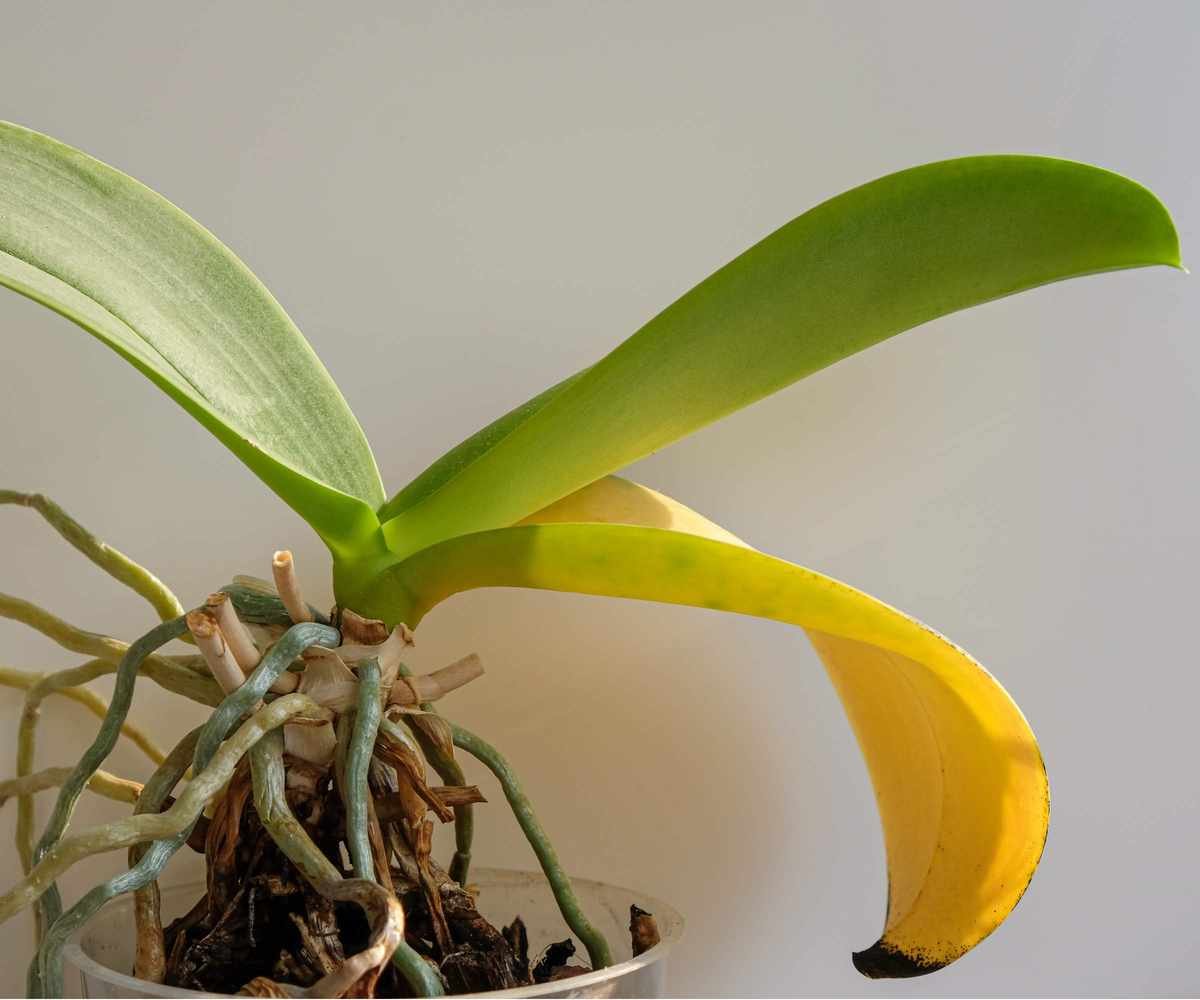
According to indoor plant expert Julie Bawden-Davis, rotting roots will feel mushy and will change from green or silvery to dark brown or black.
Understanding the ideal appearance of healthy orchid roots has helped me improve my watering habits. Silver roots indicate it's time for a drink, while green roots suggest sufficient moisture. Overwatering, even when the plant doesn't need it, can lead to root rot. I now use a moisture meter from Amazon to help determine when to water my plants.
Understanding orchids' natural habitats can inform how to care for them indoors. Julie explains, 'Orchids thrive in rainforests, where they grow on trees, not in soil. They receive water during rainfall but their roots dry out between showers.'
Additional causes of root rot include inadequate air circulation and poor drainage. It's advisable to use a specialized orchid potting mix from Amazon instead of regular soil, which retains too much moisture. Additionally, ensuring proper airflow can help prevent excessive humidity and fungal growth. You might consider creating your own mix for optimal growth.

Steps to Address Orchid Root Rot
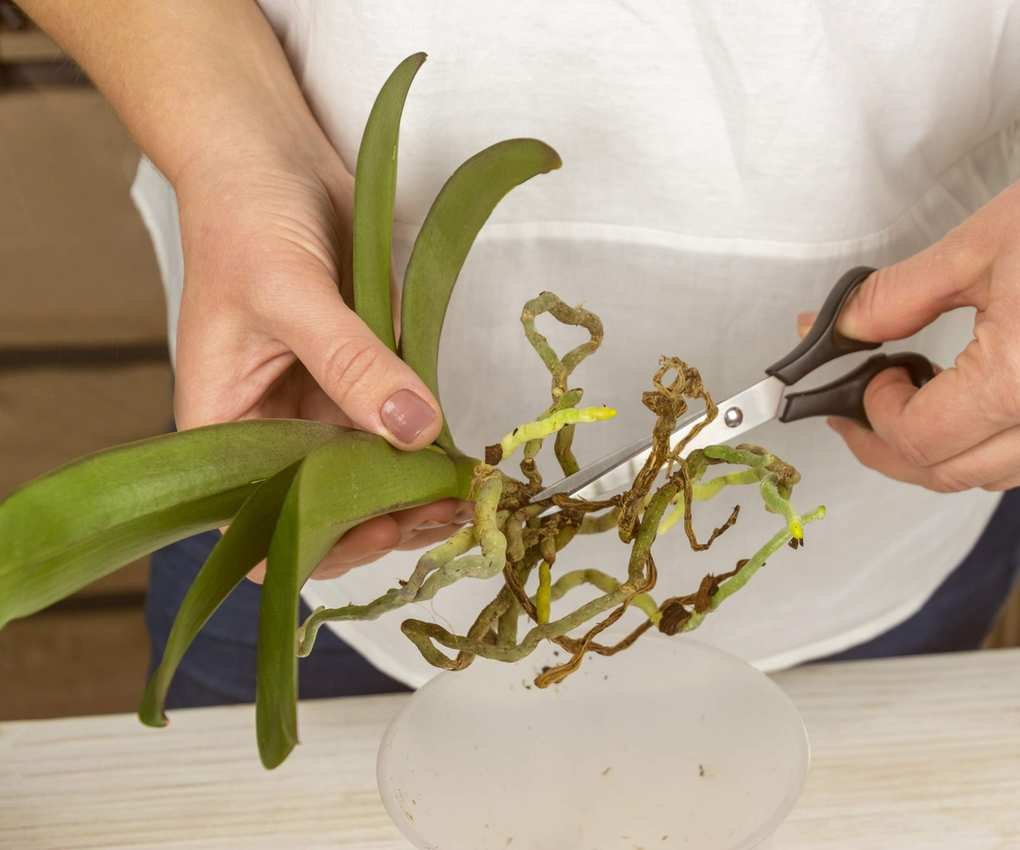
If you notice signs of root rot, don't lose hope. Reviving your orchid is possible with a few key steps.
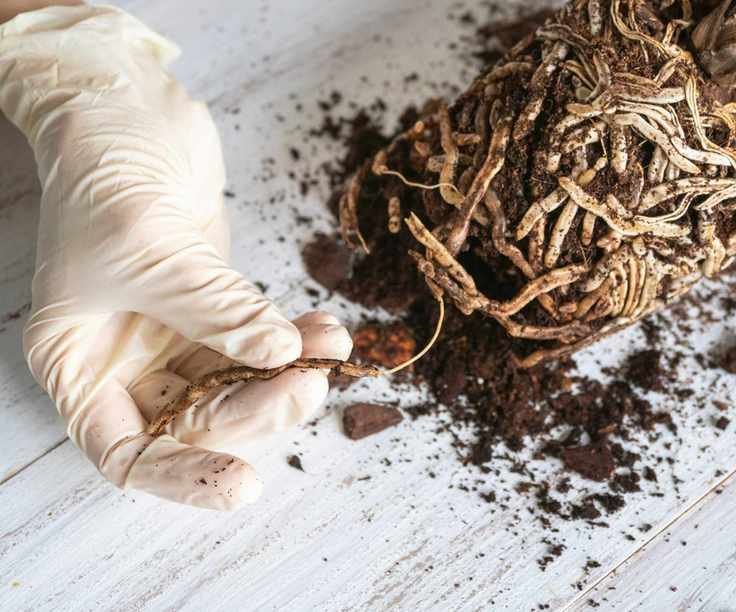
Begin by gently removing the orchid from its pot and discarding the old potting mix. It's crucial to repot with fresh mix to eliminate any lingering fungal threats.
Next, use clean gardening tools like pruning scissors from Amazon to remove the affected roots at their base. Be sure to sanitize your tools afterward to prevent pest transfer.
After pruning, repot your orchid in a well-draining bark mix. Consider using a terracotta pot for better airflow, as Virginia Hayes, an indoor plant expert, suggests. Also, choose a location with ample humidity and air circulation, providing indirect sunlight for optimal growth.
To encourage reblooming, focus on proper care. Julie advises, 'Avoid overwatering and leaving your orchids in standing water. This can prevent further deterioration, depending on the extent of the rot.'

Common Questions
Why Are My Orchid Roots Dry and Brown?
Observing your orchid's roots is essential for assessing its health. Green, firm roots indicate good health and moisture levels, while silver roots signal a need for water. Conversely, mushy brown and black roots usually indicate rot. Dry, shriveled roots suggest over-drying, which can be remedied by trimming the damaged parts and adjusting your watering schedule.
Don't despair if your orchid is suffering from root rot; it's a frequent issue for new orchid owners and can be resolved. By removing damaged material and providing attentive care, especially with watering, you can give your orchid a renewed chance to thrive.
If you notice other discoloration, like yellowing leaves, check out our guide on orchid pruning for additional tips to keep your plants blooming beautifully.