If you live in an area that experiences freezing temperatures during winter, you likely understand the anxiety of dealing with frozen pipes and potential leaks. This is where heat tape comes in handy.
Many expert contractors recommend this simple electrical cable alongside insulating pipes to keep your plumbing safe and functioning through the coldest months, helping you avoid costly home floods.
In this article, you'll learn what heat tape actually is (hint: it's not just adhesive tape) and how to effectively use it to prevent frozen pipes.
What is heat tape?
Essentially, heat tape, or heat cable, is a slender electrical wire that you install along your pipework. It heats up sufficiently to prevent ice from forming, allowing you to avoid the concern of frozen pipes.
Yaeir Moinzadeh, a contractor and owner of Blue Rise Baltimore Roofing, explains, 'Heat tape is designed to be wrapped around pipes during extremely cold weather to prevent freezing. It works particularly well when combined with insulation, even in temperatures as low as -40°F (-40°C). For optimal efficiency, choose thermostat-controlled heat tape that activates only when temperatures dip below freezing.'
Different types of heat tape
When it comes to winterizing your home, there are two primary types of heat tape available:
- Self-regulating heat tape: This type can be cut to any length, adapting its heat output based on the surrounding temperature. It warms up in cold weather while cooling down during hot summers, eliminating the need for manual adjustments, though it still requires an electrical outlet.
- Thermostat-controlled heat tape: Similar in flexibility, this variety relies on a thermostat for temperature control rather than ambient temperature, allowing you to choose specific activation temperatures.
Your choice of heat tape for preparing for cold weather will depend on your personal preferences.
Make sure to check the packaging and instructions to ensure compatibility with your specific pipe material, size, and the climate conditions your home faces. Most heat tapes are suitable for both plastic and metal pipes, but it's wise to verify.
Measure your pipes carefully to ensure the right fit. Keep in mind that if you opt to wrap the heat tape in a spiral around the pipe to winterize plumbing indoors, you'll likely need significantly more tape than the length of the pipe itself.
Both types are available in DIY kits, which are great for those who may not want to deal with complicated wiring.
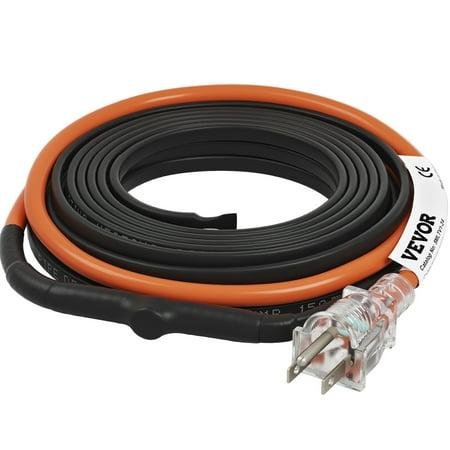 Self-Regulating
Vevor Self-Regulating Pipe Heating Cable, 24-Feet
Thanks to a built-in thermostat that accurately controls temperatures, this heat tape activates at 43℉ and shuts off at 55℉.
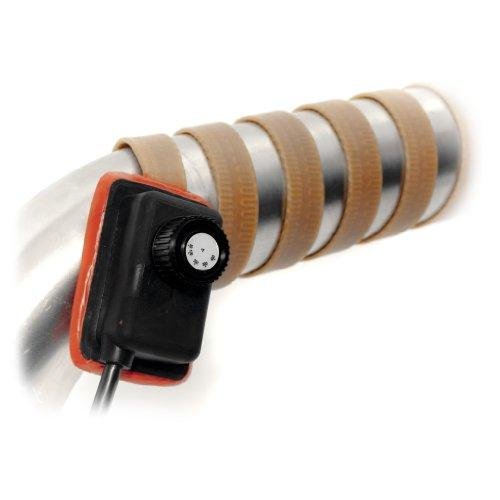 Thermostat controlled
Briskheat Hstat101004 Xtremeflex Heating Tape
This electrical heating tape provides quick and even heating, reaching temperatures up to 425°F (218°C).
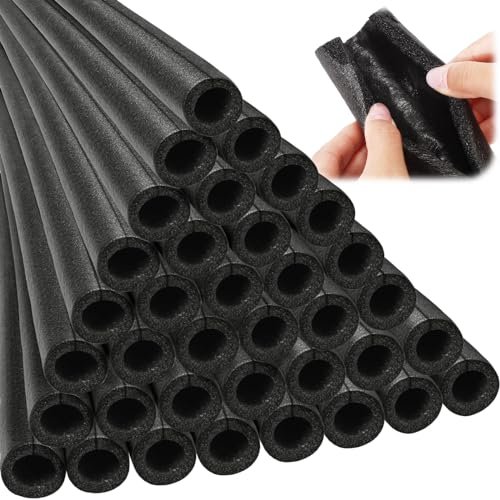 Three size options
Amylove 24 Pcs Pipe Insulation Foam
Enhance pipe protection with foam insulation. Ensure your heat tape is compatible with foam to prevent melting.
How to install heat tape
While purchasing heat tape is straightforward, incorrect installation can lead to significant home maintenance issues during winter.
Nathan Hudelson, a master plumber at Schlueter Plumbing, suggests, 'For small-diameter pipes, run a strip along the bottom of the pipe (since heat rises) and secure it with standard electrical tape.'

According to Yaeir Moinzadeh, you can also wrap heat tape around pipes in unheated spaces, crawl spaces, attics, and exterior walls. Don't forget to pay attention to outdoor faucets and hose bibs, as they are often overlooked and prone to freezing. He adds, 'To install, make sure to clean and dry the pipe, then wrap the tape or run it along the bottom, following the manufacturer's guidelines. Use electrical tape or zip ties to secure it without overlapping, as this can cause overheating.'
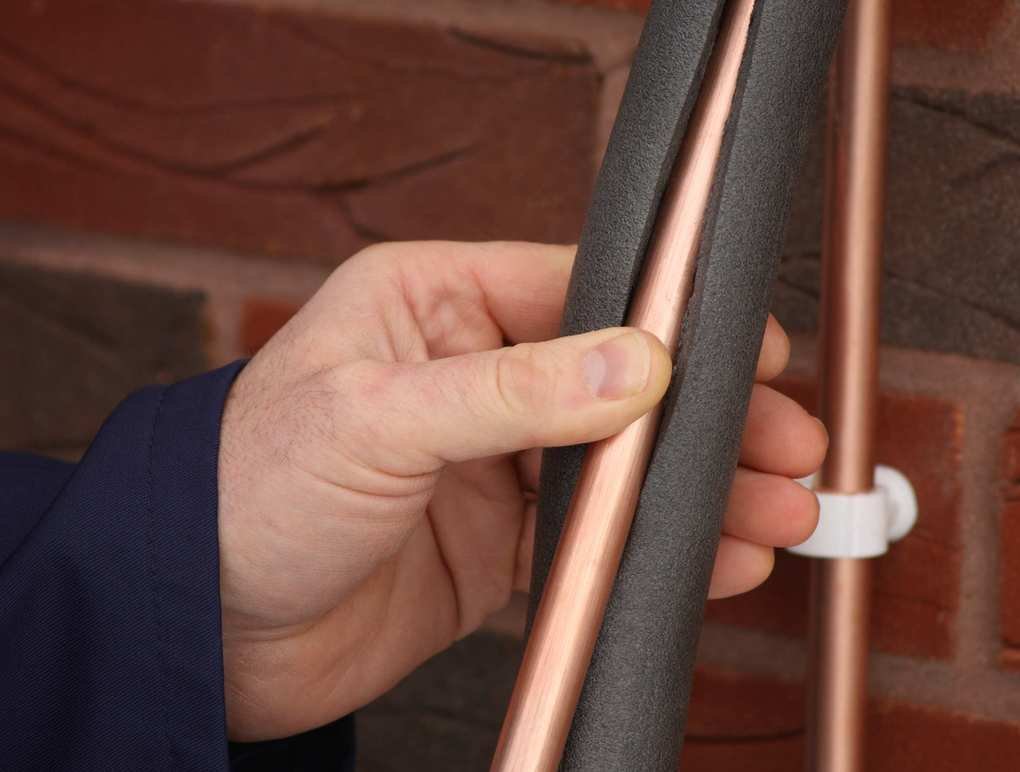
Nathan Hudelson also advises, 'After applying heat tape, it's crucial to properly insulate the pipe using foam insulation cut to fit, ensuring there are no air gaps (select insulation that is one size larger than the pipe to accommodate the heat tape). A few wraps of electrical tape will usually keep the insulation in place. Finally, plug it in and check that the outlet works before cold weather hits.'
It's essential to verify that the heat tape is safe for use with pipe insulation by checking the manufacturer's instructions before finalizing your installation.
Additionally, insulating the surrounding area can further reduce the risk of freezing, such as insulating a crawl space or installing attic insulation.
Timothy Wood, founder and CEO of Fix It Today, reminds us, 'Always prioritize safety when using heat tape. Follow the manufacturer's instructions, avoid overlapping the tape, and secure it with appropriate materials like electrical tape. If your tape does not self-regulate temperature, consider adding a thermostat or timer to conserve energy and prevent overheating.'
Using heat tape correctly can help prevent pipes from freezing during winter, and if a pipe does freeze, it can aid in thawing it out more quickly. However, it's most effective when applied before the onset of severe cold. It's always better to take preventive measures than to seek a solution later.
Typically, heat tape remains effective for several years before needing replacement, so it's wise to check it annually for functionality. Be prepared for emergencies by understanding how to respond if a pipe bursts, including knowing where your main water shut-off valve is located and how to dry belongings after a flood.


